

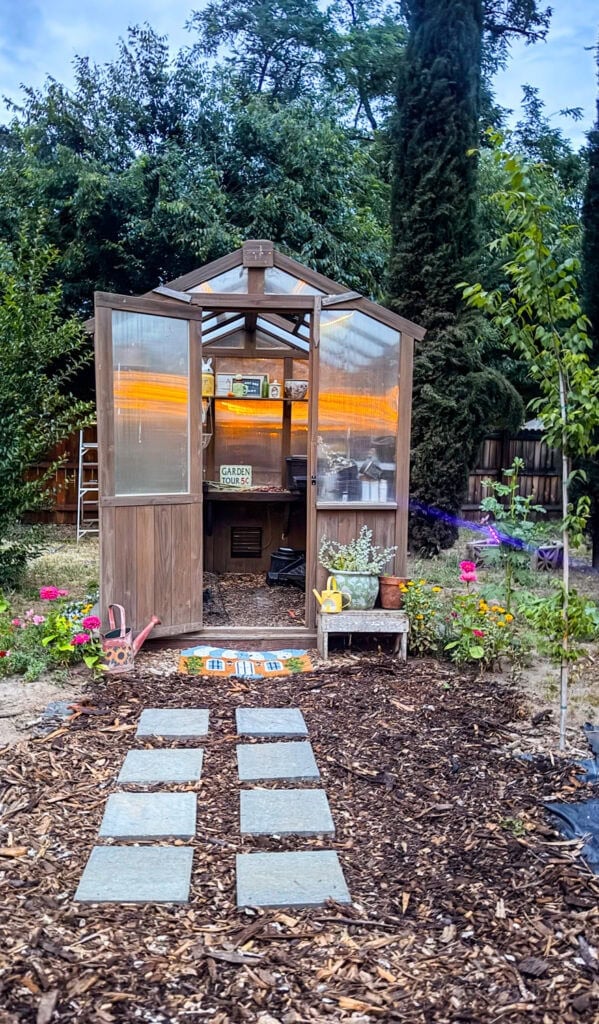
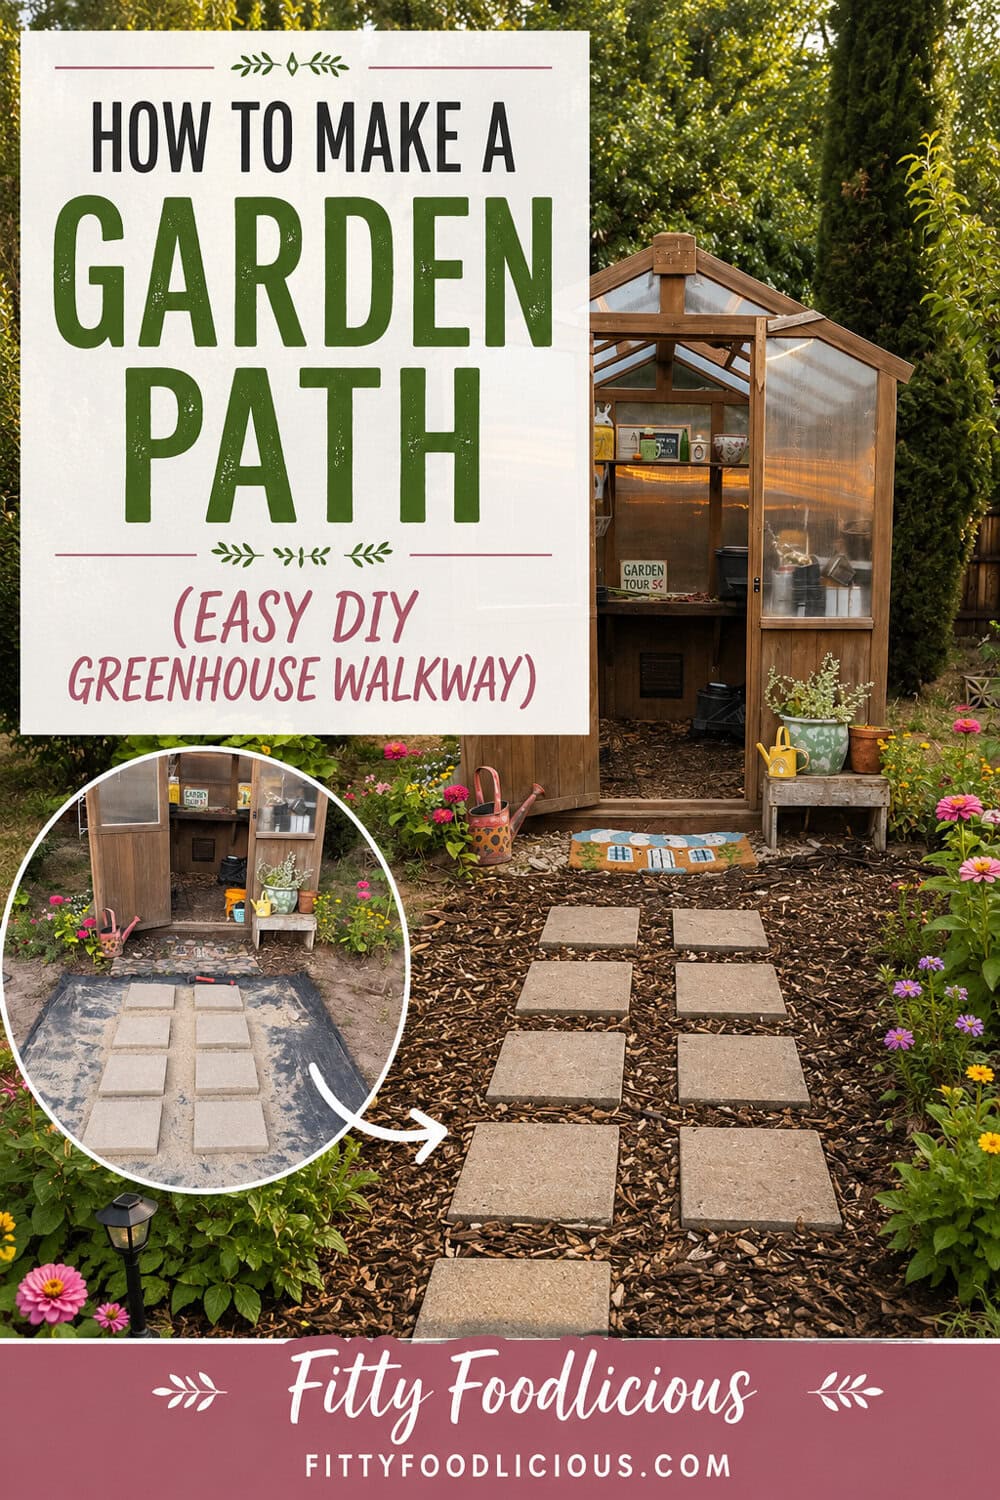
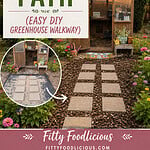
Learn how to make a garden path on a budget for under $100 using pavers, mulch, leveling sand, and weed barrier fabric. This easy DIY greenhouse walkway adds charm to your garden while helping reduce weeds and muddy foot traffic, and can be completed in a weekend!

I love working on garden DIY projects because gardening is one of my favorite activities, second only to spending time with my dog. Not only is it a great way to get outside and enjoy the fresh air, but it also keeps you moving and gives you a sense of accomplishment as your garden grows.
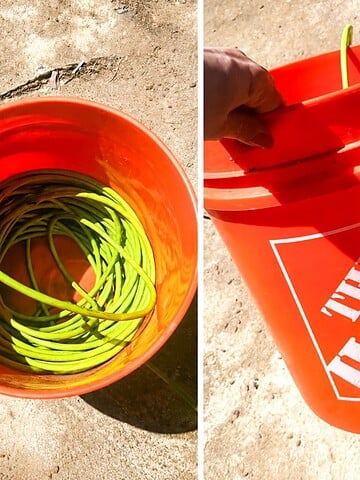
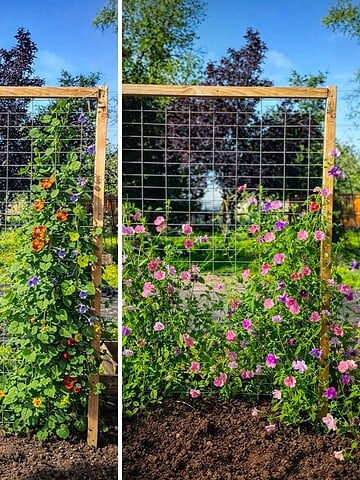
If you enjoyed this DIY garden path tutorial, be sure to check out my How to Build a Wooden Garden Trellis tutorial or my Easy DIY Outdoor Hose and Extension Cord Storage Hack. And if you’re looking for a delicious way to fuel your gardening adventures, try my Crispy Yellow Squash Fritters (Easy Summer Recipe) or my 8-Ball Zucchini Stuffed Eight Ball Ground Beef Recipe . Have loads of tomatoes? Make my Yellow Tomato Pasta Sauce | Easy Homemade Recipe. Need hydration while gardening in summer heat? Try my Healthy Lemon-Lime Soda (Easy Homemade Recipe) it's so refreshing and way better than Sprite.
Jump to:
- Why You'll Love This Budget-Friendly Garden Path
- Materials For Building A Garden Path
- How To Lay A Garden Path Without Concrete
- The Secret To The Perfect Backyard Pathway
- Garden Path Ideas On A Budget
- Want A Different Look? Use Pea Gravel Instead Of Mulch
- Plants That Look Beautiful Along A Low Maintenance Garden Path Ideas
- More Garden Grow Guides Here
- Follow Us
- Pin or send this recipe to a friend!
- 💬 Comments

Why You'll Love This Budget-Friendly Garden Path
- 🪨 Beginner-friendly – This DIY garden path is simple to build using basic materials and requires no special landscaping skills
- 💰 Budget-friendly – Create a beautiful garden pathway without spending a fortune on expensive stonework or professional installation.
- ⏱️ Quick weekend project – Most homeowners can complete this easy garden path in a single weekend.
- 🚫 Helps reduce weeds – Weed barrier fabric helps minimize weed growth while keeping your garden path looking neat and tidy.
- 🏡 Adds charm and function – Stepping stones and mulch create an attractive pathway that makes it easier to access your greenhouse and garden beds.
Materials For Building A Garden Path
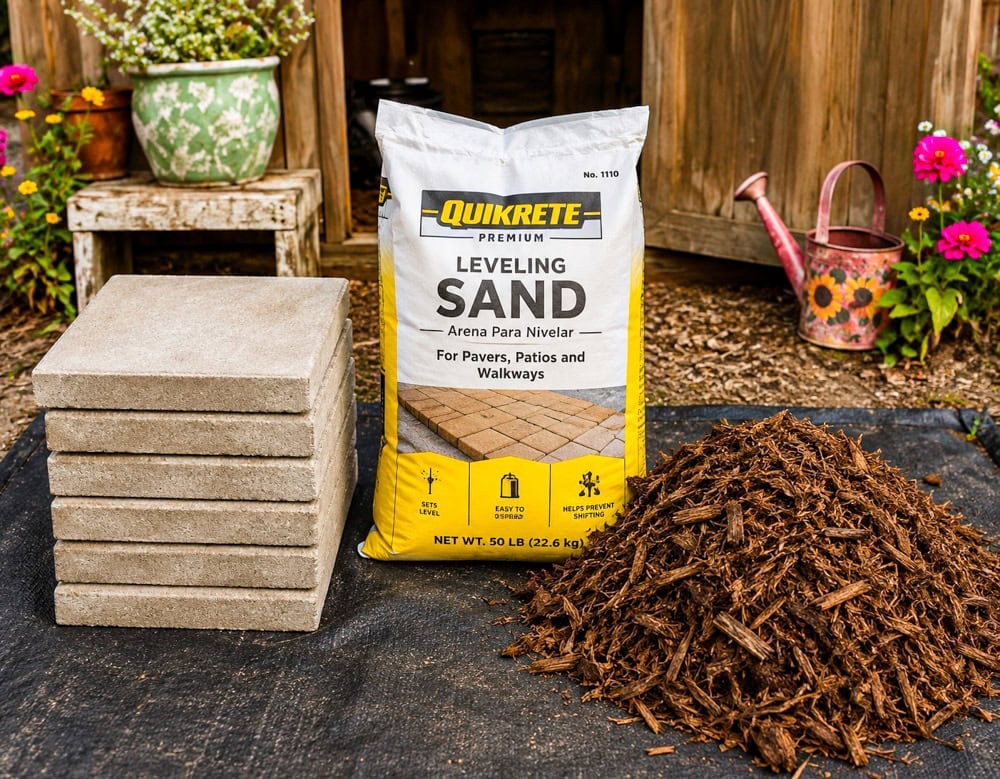
To build this inexpensive backyard pathway, you’ll only need a few basic garden path materials. I used square pavers, weed barrier fabric, leveling sand, and mulch to create this greenhouse walkway, but you can customize the design to fit your garden and budget.
- 🪨 Square Pavers or Stepping Stones – The foundation of this DIY garden path and the main material used to create the walkway.
- 🌱 Weed Barrier Fabric – Helps suppress weeds and reduces maintenance throughout the growing season.
- 📌 Landscape Staples – Secure the weed barrier fabric to the ground before adding mulch.
- 🏖️ Leveling Sand – Creates a stable base and helps keep the stepping stones level.
- 🌳 Mulch – Fills the spaces between the pavers and gives the pathway a finished cottage garden look.
- 📏 Tape Measure – Helps evenly space the stepping stones throughout the garden path.
- 🥄 Shovel or Garden Spade – Used to prepare the area and level the soil before installing the pathway.
- 🧹 Garden Rake – Makes it easier to spread mulch and smooth the leveling sand.
How To Lay A Garden Path Without Concrete
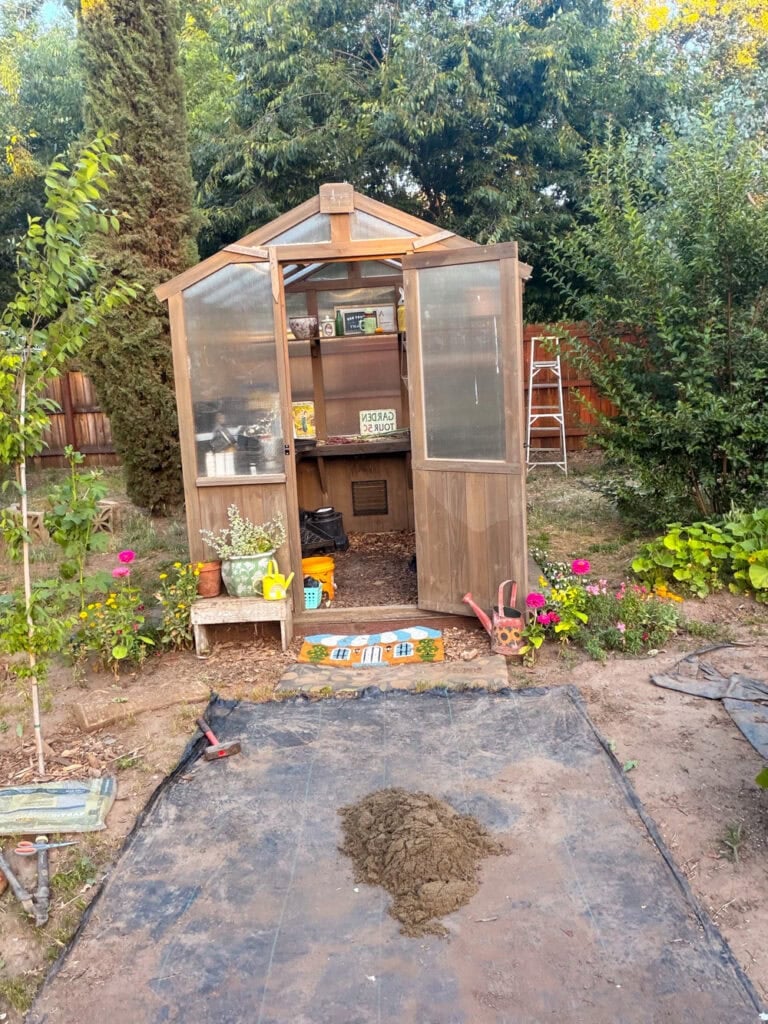
Step 1: Prep the Area and Lay Weed Barrier Fabric
Start by clearing weeds, grass, and debris from the area where you want your garden path to go. Once the ground is cleared, roll out weed barrier fabric over the pathway area and secure it tightly with landscape staples. This creates a clean base for building a garden path without concrete and helps keep weeds from growing up through the mulch.
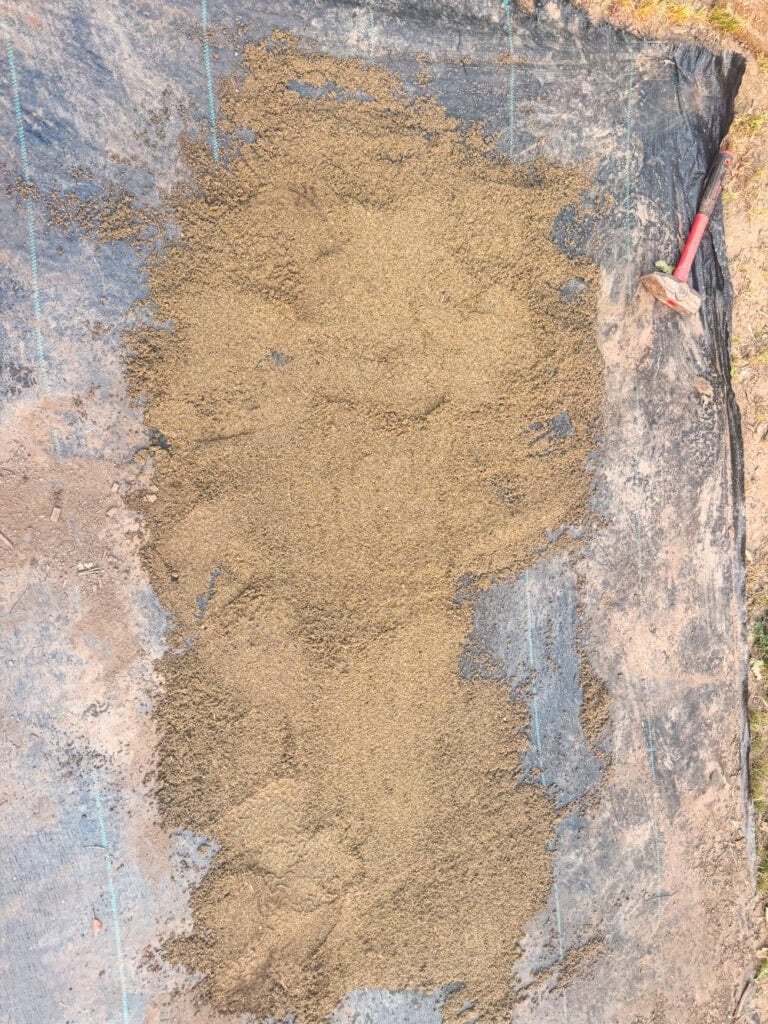
Step 2: Add Leveling Sand Where Each Paver Will Go
Use a tape measure to decide where you want each stepping stone paver to sit. Add a thin layer of leveling sand directly on top of the weed barrier fabric where each paver will be placed. You do not need as much sand as you think; too much sand can make the pavers uneven.
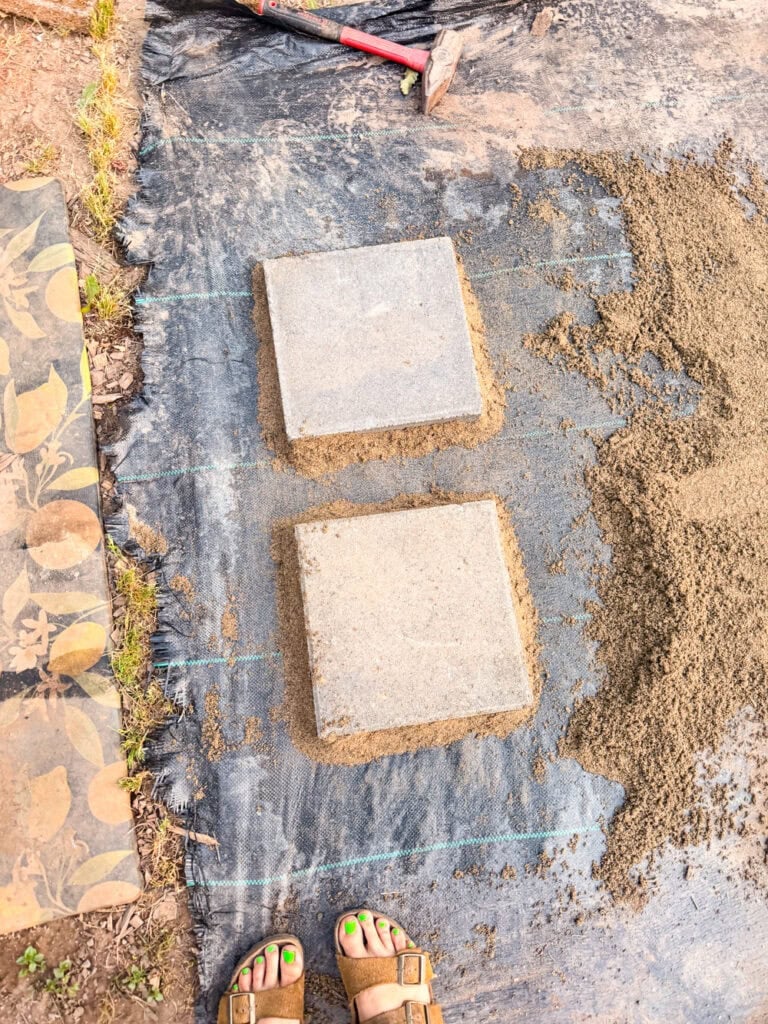
Step 3: Place The Stepping Stone Pavers
Place each square paver directly on top of the leveling sand. Adjust the pavers until they are spaced evenly and lined up the way you want your backyard pathway to look. Continue repeating the process by adding leveling sand and placing each paver until the garden path is complete.
Step 4: Fill Around The Pavers With Mulch
Once the pavers are in place, add mulch around each stepping stone and across the rest of the pathway. I like to add mulch over the pavers first and then sweep it off so the mulch settles into the gaps around the stones. This helps the garden pathway look more even and finished.
Pro tip
The Secret To The Perfect Backyard Pathway
- Once the pavers are in place, add mulch around each stepping stone and across the rest of the pathway. I like to add mulch over the pavers first and then sweep it off so the mulch settles into the gaps around the stones. This helps the garden pathway look more even and finished.
Pro-Tip For DIY Garden Pathway
Garden Path Ideas On A Budget
💡 Use Less!
You do not need as much leveling sand as you think. Start with a thin layer under each paver and add more only where needed. Too much sand can make stepping stones uneven. For a more permanent pathway, use a setting sand designed to harden in place.
💡 Money-Saving Garden Hack
Get Free Mulch Through ChipDrop Need mulch for your backyard pathway? Check out ChipDrop, a service that connects homeowners with local arborists looking to unload wood chips. In many areas, you can receive a free mulch delivery, making it an easy way to complete a garden path on a budget while recycling natural materials.

Technique
Want A Different Look? Use Pea Gravel Instead Of Mulch
If mulch isn’t your style, pea gravel is another budget-friendly option for building a DIY garden path. Simply fill the spaces around the stepping stones with pea gravel instead of mulch for a clean, low-maintenance garden pathway. Pea gravel works especially well in modern garden path ideas and helps improve drainage in wet areas.
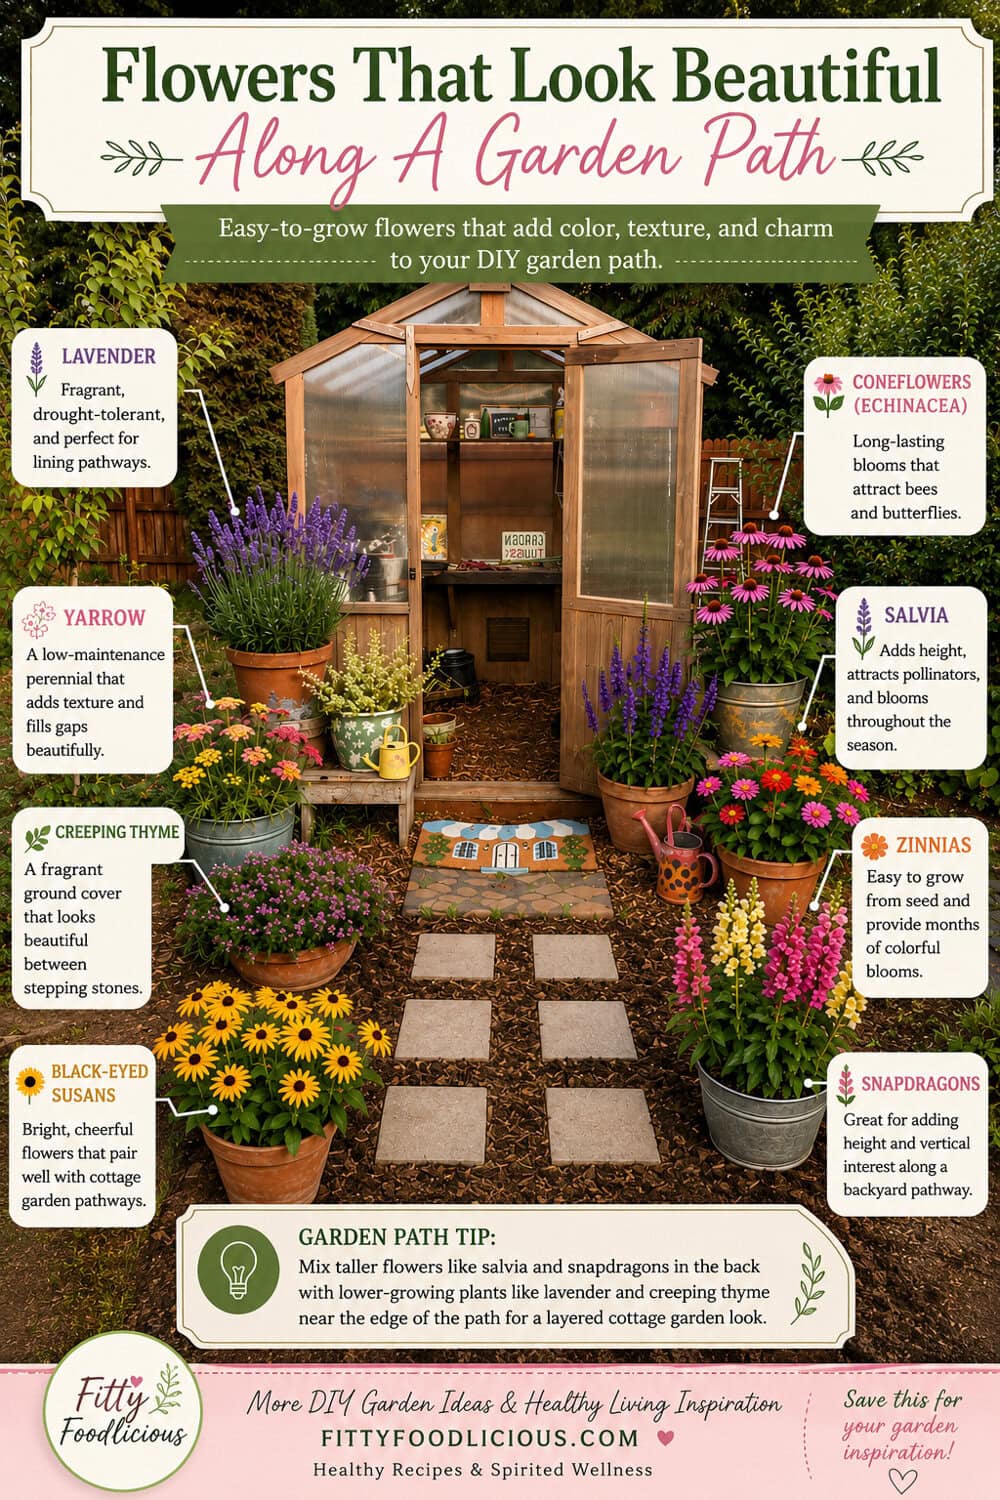
Plants That Look Beautiful Along A Low Maintenance Garden Path Ideas
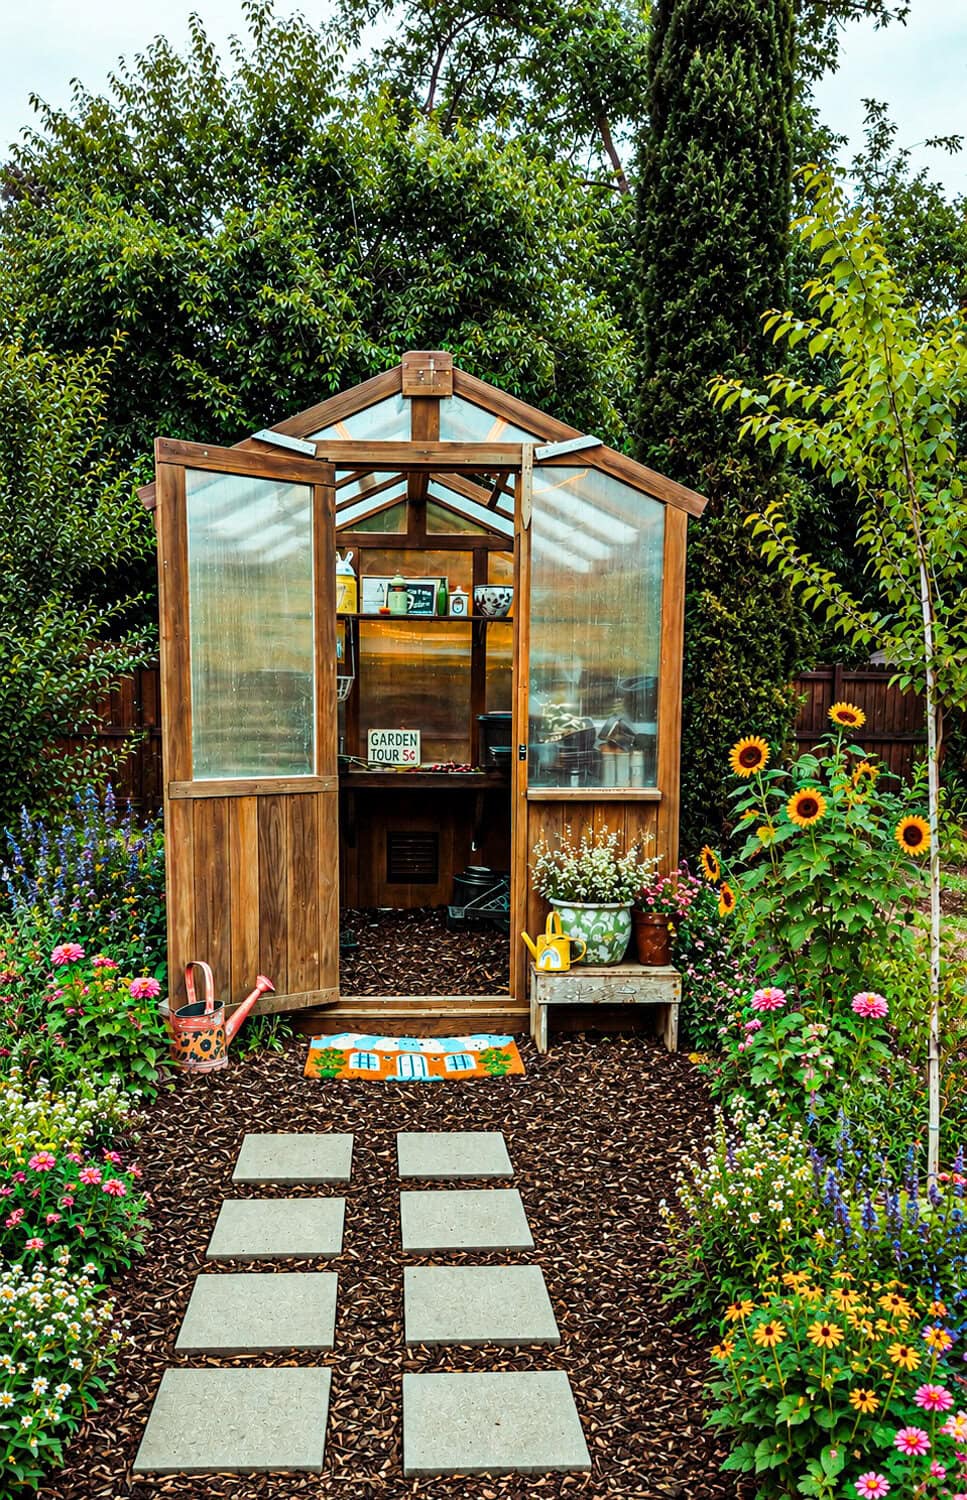
Add color, texture, and curb appeal to your DIY garden path with easy-to-grow flowers that soften the edges of the walkway and create a charming cottage garden feel.
- 🌿 Lavender – Fragrant, drought-tolerant, and perfect for lining pathways.
- 🌸 Coneflowers (Echinacea) – Long-lasting blooms that attract bees and butterflies.
- 🌼 Yarrow – A low-maintenance perennial that adds texture and fills gaps beautifully.
- 🌺 Zinnias – Easy to grow from seed and provide months of colorful blooms.
- 💜 Salvia – Adds height, attracts pollinators, and blooms throughout the season.
- 🌱 Creeping Thyme – A fragrant ground cover that looks beautiful between stepping stones.
- 🌻 Black-Eyed Susans – Bright, cheerful flowers that pair well with cottage garden pathways.
- 🌷 Snapdragons – Great for adding height and vertical interest along a backyard pathway.
- Natural Garden Paths Tip: Mix taller flowers like salvia and snapdragons in the back with lower-growing plants like lavender and creeping thyme near the edge of the path for a layered cottage garden look.

There are many garden path materials you can use depending on your budget and design style. Popular options include stepping stones, concrete pavers, pea gravel, decomposed granite, brick, natural stone, mulch, and river rock. For this DIY garden pathway, I used square stepping stone pavers, weed barrier fabric, leveling sand, and mulch to create an inexpensive garden path with a cottage garden feel.
The best garden path ideas combine both function and style. Keep your pathway wide enough for comfortable walking, use landscape fabric to reduce weeds, and choose materials that complement your garden design. Adding flowers along the edges of the pathway garden can also create a more inviting and natural look.
To make an easy garden path with stepping stones, first clear the area and lay down weed barrier fabric. Add a thin layer of leveling sand where each stepping stone will sit, then place the pavers evenly along the path. Finish by filling the surrounding area with mulch or pea gravel for a polished backyard pathway.
Most garden paths are between 24 and 36 inches wide. A smaller pathway garden can be closer to 24 inches wide, while pathways that need to accommodate wheelbarrows or heavy foot traffic are often 36 inches or wider. Choose a width that fits your outdoor space and how the path will be used.
A stable base helps prevent stepping stones from shifting over time. Many gardeners use leveling sand beneath each paver to create a smooth, even surface. For more permanent garden path construction, polymeric sand, crushed gravel, or compacted base rock can also be used beneath the stones.
More Garden Grow Guides Here

Follow Us
If you make this recipe, please leave a star ⭐ recipe rating at the bottom of the page on the recipe card. This provides helpful feedback to both me and other readers and cooks! If you want more delicious, made-from-scratch, wholesome, and healthy recipes, you can subscribe to my newsletter and follow along on my adventures on Instagram where I'm convinced I'm a comedian 😂 Check out our Pinterest for even more recipe inspiration and Facebook for the recipe of the day!
Be sure and follow, like, and share Fitty Foodlicious with your friends and family!

About Genevieve
Thank you for stopping by Fitty Foodlicious, a website dedicated to sharing lasting, family recipes, anxiety tips and tricks, and healthy spirited mental wellness. Genevieve's recipes have been featured on MSN.com, NewsBreak, Food Talk Daily, Food Gawker, Trivet Recipes, Bartender.com, Health Magazine, Kitchen Aid AU NZ, and has a published Cookbook titled The 5-Ingredient Paleo Cookbook which can be purchased at all major bookstores and on Amazon.
Pin or send this recipe to a friend!
Share Fitty Foodlicious recipes with your friends and family! We won't mind. 😉
How To Make A Garden Path (Easy DIY Greenhouse Walkway)
Materials
- 1 Roll Weed Barrier (enough to cover your pathway area)
- 1 Box Landscape Staples
- 8 Square Pavers (or more or less, depending on your design, you can use round pavers too)
- 1 Bag Leveling Sand (10-20 pounds, depending on the size of your pathway)
- 2-3 Bags Mulch (or enough to cover your pathway area) or use ChipDrop and have it delivered for free)
Instructions
Step 1: Prep the Area and Lay Weed Barrier Fabric
Start by clearing weeds, grass, and debris from the area where you want your garden path to go. Once the ground is cleared, roll out weed barrier fabric over the pathway area and secure it tightly with landscape staples. This creates a clean base for building a garden path without concrete and helps keep weeds from growing up through the mulch.Step 2: Add Leveling Sand Where Each Paver Will Go
Use a tape measure to decide where you want each stepping stone paver to sit. Add a thin layer of leveling sand directly on top of the weed barrier fabric where each paver will be placed. You do not need as much sand as you think; too much sand can make the pavers uneven.Step 3: Place The Stepping Stone Pavers
Place each square paver directly on top of the leveling sand. Adjust the pavers until they are spaced evenly and lined up the way you want your backyard pathway to look. Continue repeating the process by adding leveling sand and placing each paver until the garden path is complete.Step 4: Fill Around The Pavers With Mulch
Once the pavers are in place, add mulch around each stepping stone and across the rest of the pathway. I like to add mulch over the pavers first and then sweep it off so the mulch settles into the gaps around the stones. This helps the garden pathway look more even and finished.


Comments
No Comments