Skip to primary navigation
Skip to main content
Skip to primary sidebar
Fitty Foodlicious
Recipes
Summer Recipes
Subscribe
About Me
Work With Me
Search
menu icon
Recipes
Summer Recipes
Subscribe
About Me
Work With Me
Search
Instagram
Pinterest
YouTube
subscribe
search icon
Search
Recipes
Summer Recipes
Subscribe
About Me
Work With Me
Search
Instagram
Pinterest
YouTube
×
👻
Explore All of my Halloween Recipes
🎃
Spooky Recipes
Home
»
Recipes
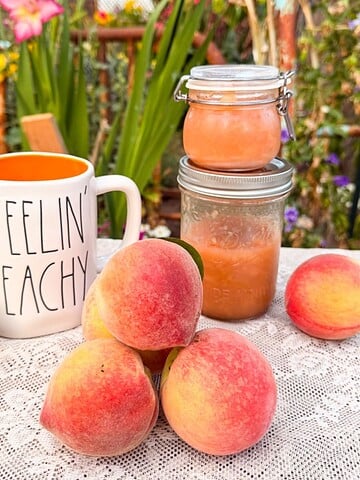
Fresh Homemade Peach Jam Recipe (No Pectin)
Fourth of July Rice Krispie Treats | Star-Shaped Patriotic Dessert
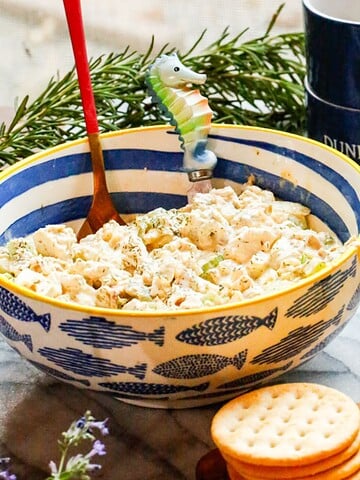
Dill Pickle Chicken Salad Recipe with Rotisserie Chicken
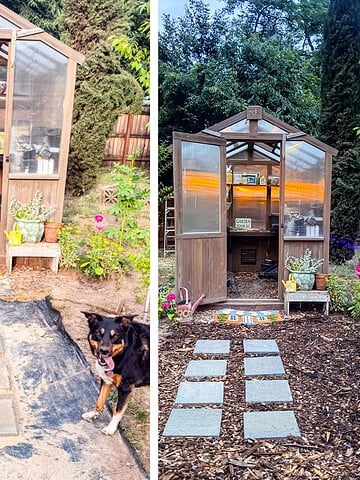
How To Make A Garden Path (Easy DIY Greenhouse Walkway)
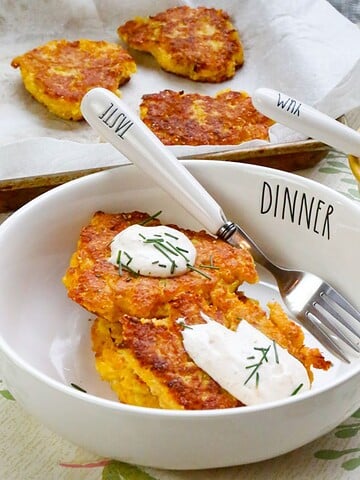
Crispy Yellow Squash Fritters (Easy Summer Recipe)
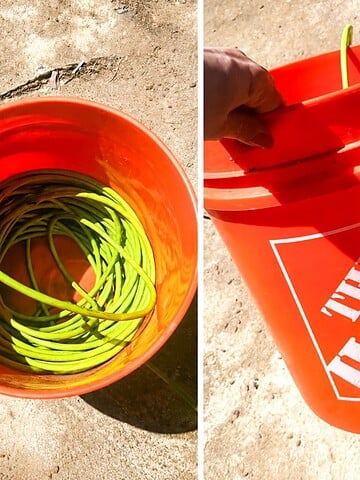
DIY Outdoor Hose and Extension Cord Storage
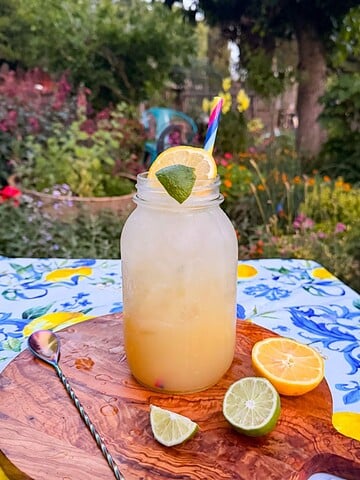
Healthy Lemon-Lime Soda (Easy Homemade Recipe)
Easy Spring Crostini Appetizer (Ladybug Crostini Recipe)
How to Build a Wooden Trellis (Easy DIY for Garden Beds)
Lucky Charms Cookies Recipe (Easy One-Bowl)
Crispy Irish Nachos with Dubliner Cheese | Pub-Style Appetizer
Easy Creamy Slow Cooker Ravioli Soup
Conversation Hearts Cookies | Easy Sugar Cookie Recipe
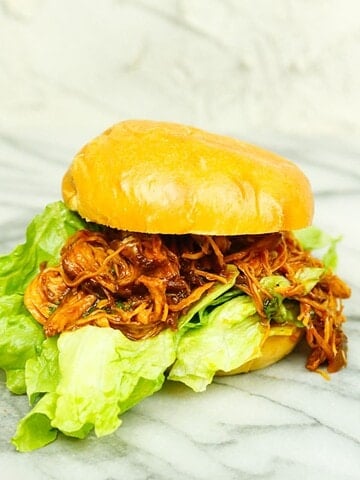
Easy Slow Cooker BBQ Chicken Sandwich (Juicy!)
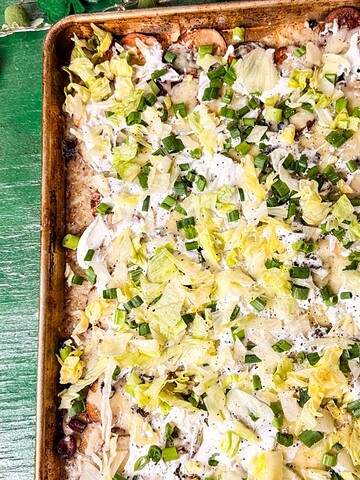
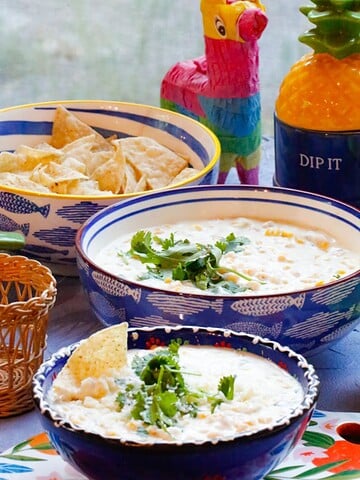
Easy Slow Cooker Mexican Street Corn Dip Recipe
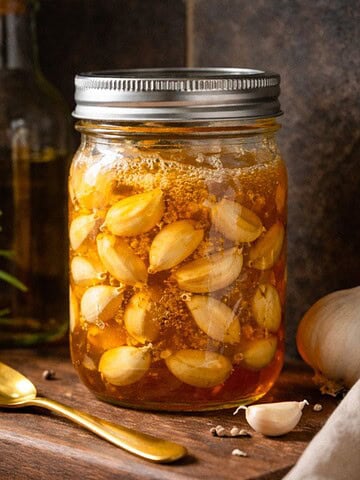
How to Make Fermented Garlic Honey Cold Remedy
Homemade Strawberry Cream Cheese Danish Hearts Recipe
Pizza Gnocchi Cheesy Pepperoni Skillet Easy Recipe
Candy Cane Hot Chocolate | Peppermint Holiday Cocoa
Panettone French Toast | Delicious Breakfast Recipe
Pretzel Reindeers | Fun No-Bake Easy Christmas Recipe
Easy Christmas Popcorn | Festive Holiday Snack Treat
Santa Hat Shirley Temple | Festive Christmas Mocktail
Baked Christmas Donuts Recipe | Glazed and Homemade
Dried Orange and Cranberry Garland Old-fashioned DIY
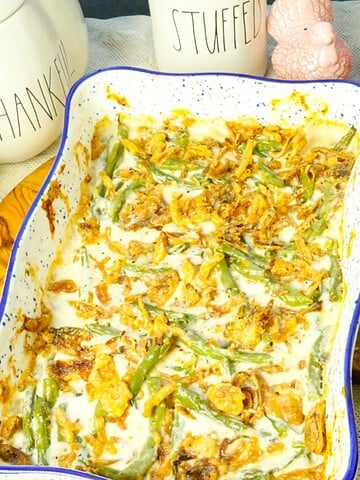
Campbell's Recipe Green Bean Casserole | Best Classic
Pumpkin Pop Tarts Homemade with Frosted Maple Icing
Boo-Schetta Ghosts Caprese Easy Bruschetta Recipe
Halloween Cookie Bars | Easy Spooky Recipe One Bowl
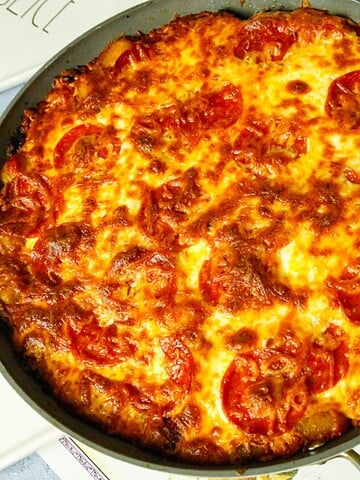
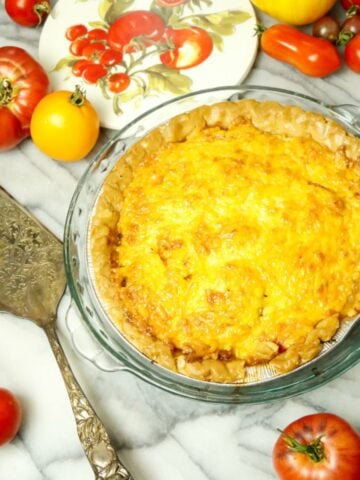
Best Tomato Pie Recipe | Easy Savory Southern Dish
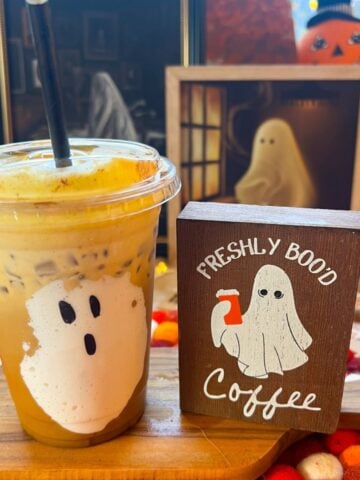
Ghost Iced Coffee | Pumpkin Spiced Iced Coffee Recipe
Raspberry Cream Cold Foam | Starbucks Copycat Recipe
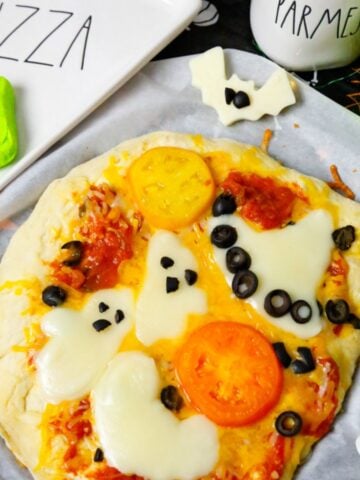
Spooky Pizza | Fun Easy Halloween Ghost Recipe
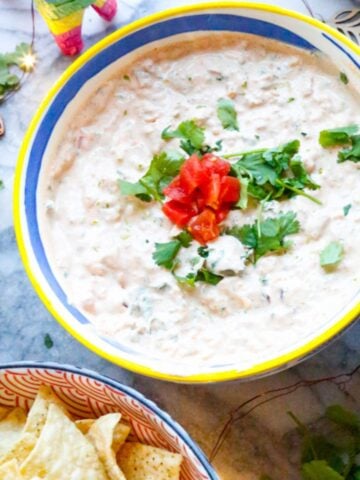
Boat Dip Recipe | Easy Best Ever Rotel Ranch Dip
Best Homemade Dog Food for Dogs with Skin Allergies
Cold Italian Pasta Salad Vegetarian | Classic Recipe
Easy Chicken and Potatoes in Dutch Oven with Vegetables
Marry Me Chicken Soup | Creamy 30-Minute Recipe
Heart Shaped Pancakes Easy Valentine's Day Breakfast
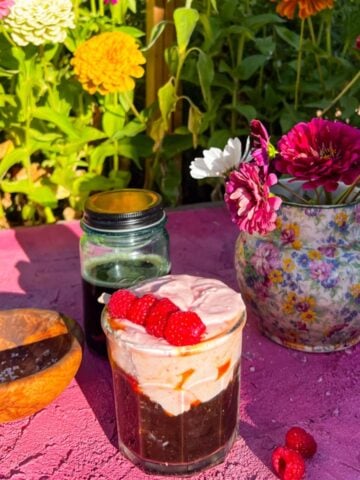
Chocolate Coffee Ganache with Raspberries & Espresso
Page
1
Page
2
Page
3
Interim pages omitted
…
Page
10
Go to
Next Page »