

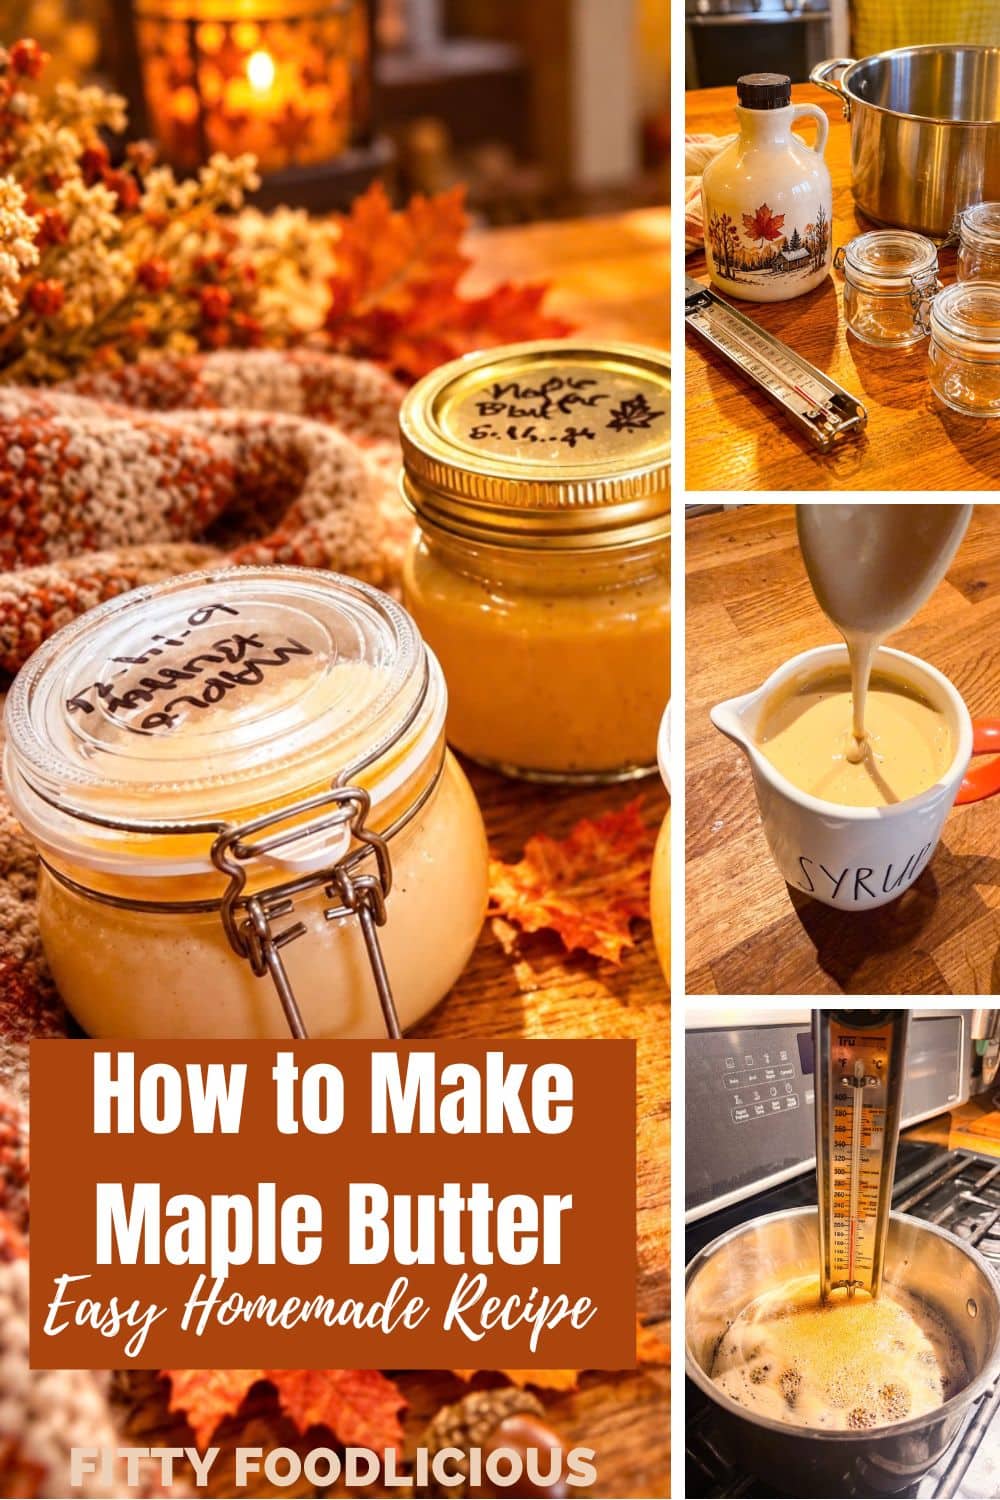
How to Make Maple Butter at home is easier than you think, with a rich, creamy texture and plenty of sweet maple flavor. Save money at Trader Joe’s and make your own homemade maple butter right in your kitchen. This easy maple butter recipe turns pure maple syrup into a smooth, spreadable treat that tastes incredible on toast, pancakes, waffles, and more. Once you learn how to make maple butter from scratch, you’ll want to keep a jar in the fridge all season long.

Homemade Maple Butter is especially good during the Fall and Holiday season, when cozy breakfasts, pumpkin recipes, and warm baked goods are on repeat. Making it at home is an easy way to save money compared with buying small jars at Trader Joe’s. Spread it over something seasonal like Pumpkin Brioche French Toast, serve it alongside Pumpkin Pop Tarts Homemade with Frosted Maple Icing, or add a spoonful to Mini Pumpkin Pancakes for an extra maple finish.
It also fits right in with a fall brunch featuring Apples Wrapped in Puff Pastry | Baked Apple Rings, and if you’re building out a full autumn spread, pair it with Spiced Apple Cider Latte Recipe| The Greatest Uplifting Coffee Drink for the ultimate cozy fall breakfast. Want more syrup recipes? Try my Best Pumpkin Spice Syrup For Coffee | Easy and Homemade for all your coffee and breakfast needs.
Jump to:
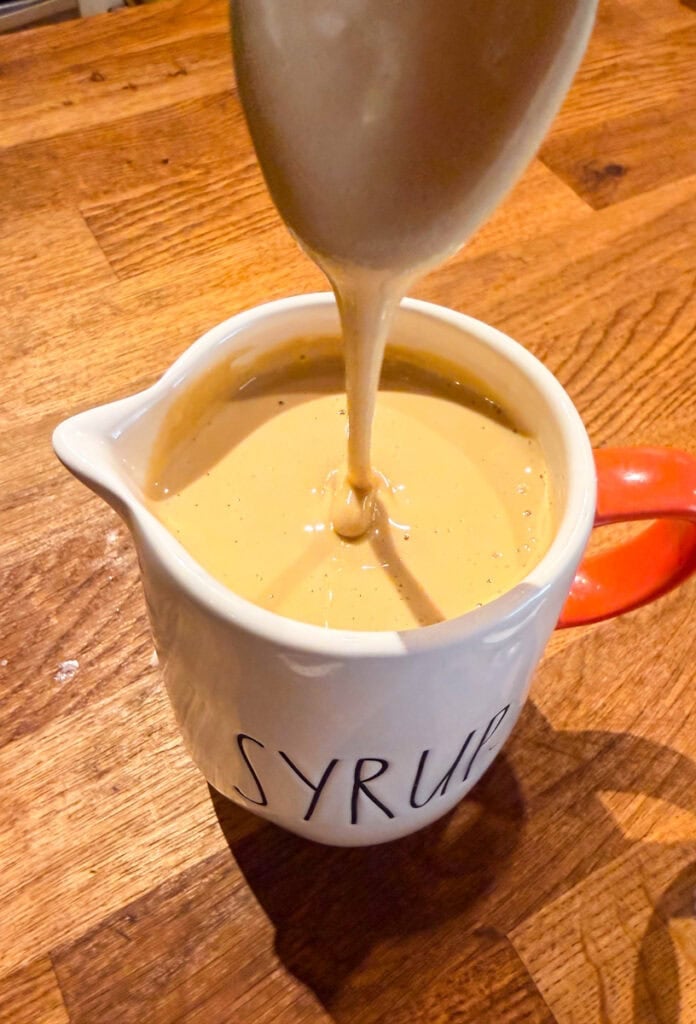
Why you'll love this Maple Cream Recipe
- 🍂 Made with simple ingredients – This Homemade Maple Butter recipe comes together with just a few basics, including pure maple syrup, and turns into a rich, creamy maple spread.
- 🥞 Perfect for fall breakfasts – Spoon it over pancakes, waffles, toast, biscuits, French toast, or warm baked goods for an easy cozy-season upgrade.
- 🎃 Versatile for sweet recipes – Use this maple cream as a spread, swirl it into oatmeal, pair it with pumpkin recipes, or add it to your favorite fall desserts.
- 🍁 Easy to make at home – Once you learn how to make maple butter from maple syrup, you can skip the tiny expensive jars at specialty stores and make your own whenever the craving hits.
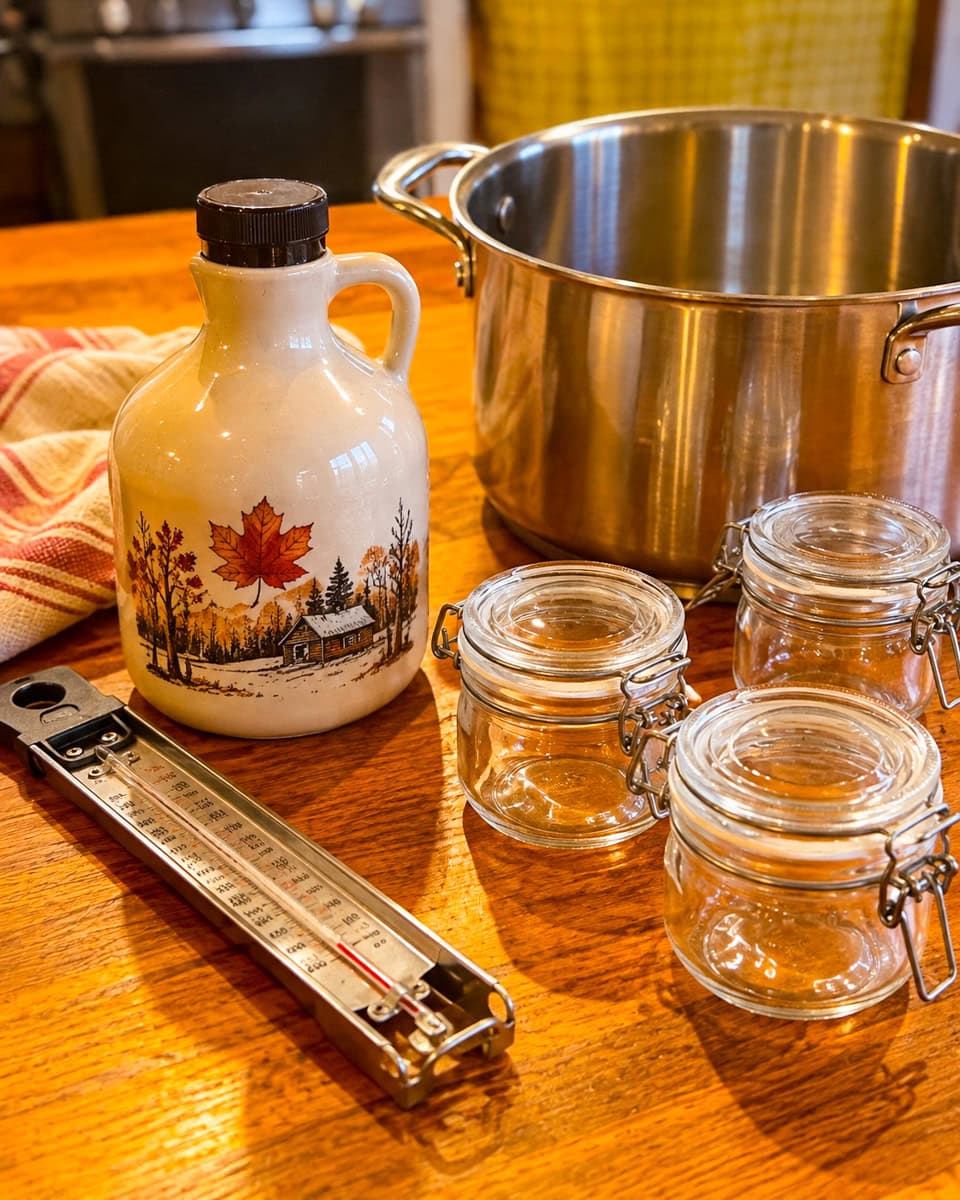
Ingredients for Maple Butter
- 🍁 Pure Maple Syrup – The only ingredient you need for this Homemade Maple Butter recipe. Use 100% pure maple syrup, not pancake syrup or maple-flavored syrup. As the syrup is heated, cooled, and whipped, it transforms into a thick, creamy maple spread without any added butter, cream, or flavorings
- Equipment
- 🌡️ Candy Thermometer – This is essential for making maple butter because the syrup needs to reach the correct temperature before cooling and whipping. A candy thermometer takes the guesswork out of the process and helps you get the right consistency.
- 🥘 Heavy-Bottomed Stock Pot – Gives the maple syrup enough room to boil and helps it heat more evenly without scorching.
- 🥣 Stand Mixer with Whisk Attachment – Used to whip the cooled maple syrup until it becomes thick, creamy, and spreadable.
- 🫙 Small Glass Jars – Perfect for storing the finished maple butter once it has reached the right consistency.
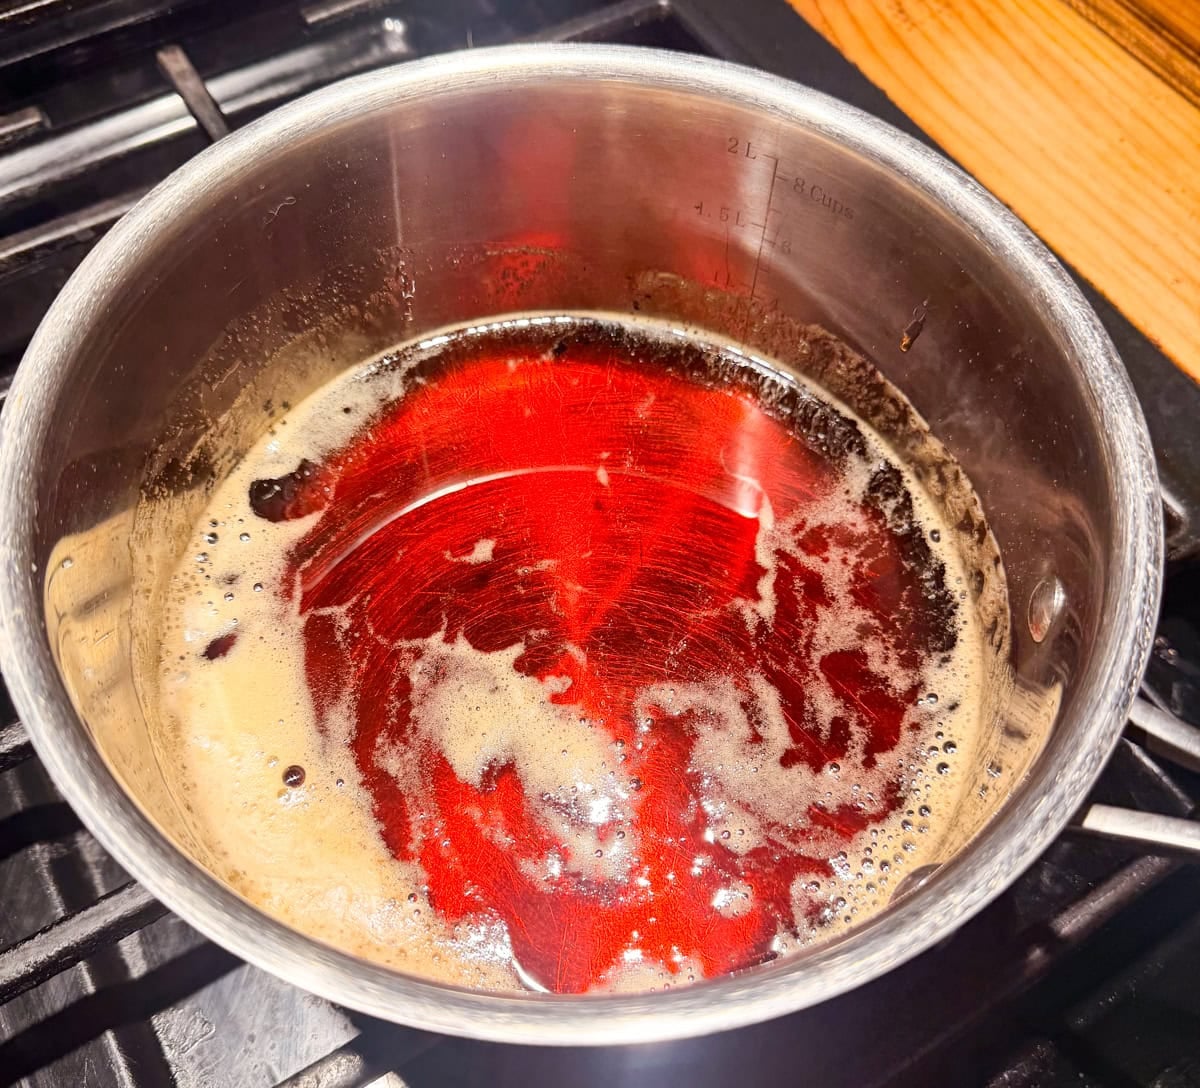
- Step 1: Begin Cooking the Maple Syrup Pour the pure maple syrup into a medium saucepan and place it over medium heat. Allow the maple syrup to begin cooking, without stirring, as it gradually comes up to temperature.
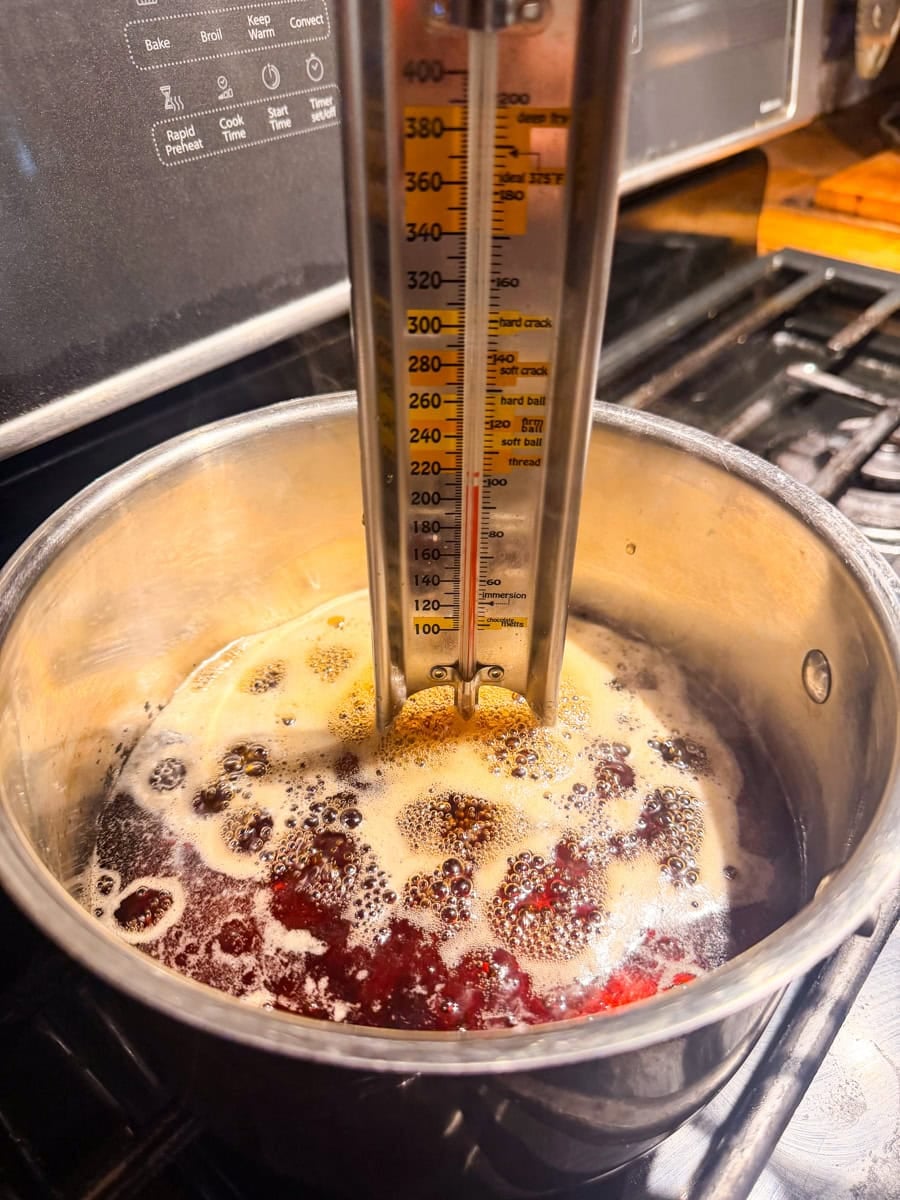
- Step 2: Bring the Maple Syrup to a Boil Continue cooking the maple syrup over medium heat with the candy thermometer in place. The syrup will begin to bubble and simmer as its temperature rises. Continue heating until the maple syrup reaches a rolling boil.
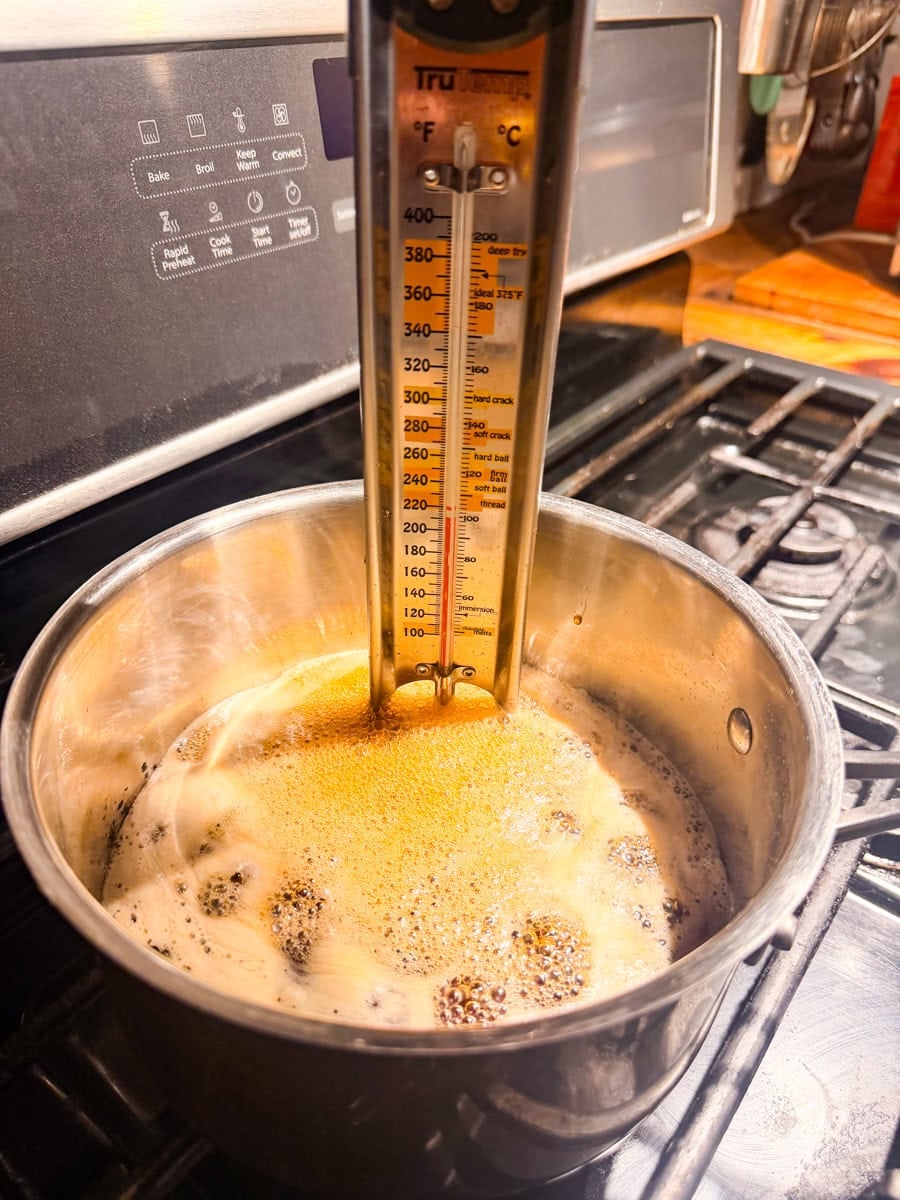
- Step 3: Cook the Maple Syrup at a Rolling Boil Once the maple syrup reaches a full rolling boil, continue cooking it without stirring. Keep a close eye on the candy thermometer as the syrup continues to heat and thicken.
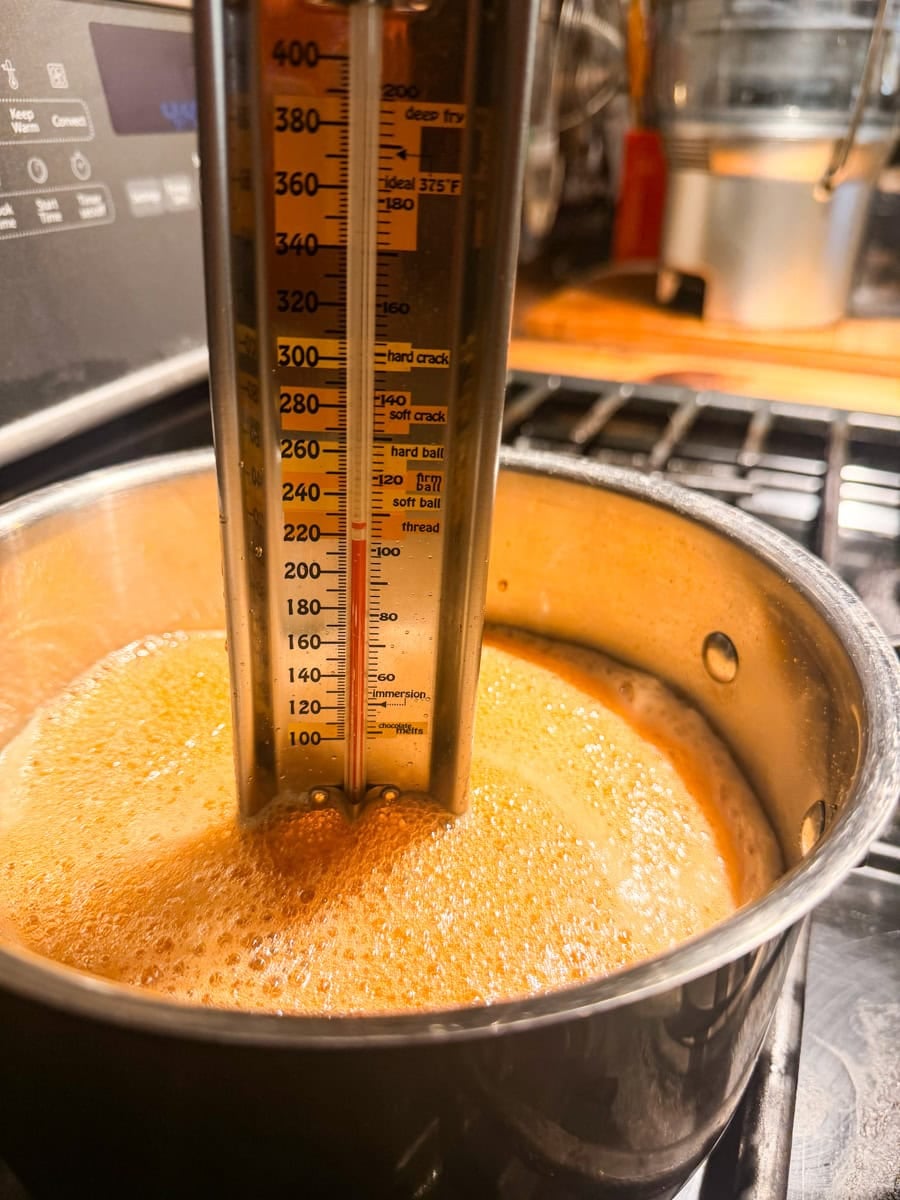
- Step 4: Cook to 235°F Continue boiling the maple syrup until the candy thermometer reaches 235°F. Once it reaches temperature, immediately remove the saucepan from the heat and carefully transfer the hot maple syrup to the bowl of your stand mixer.
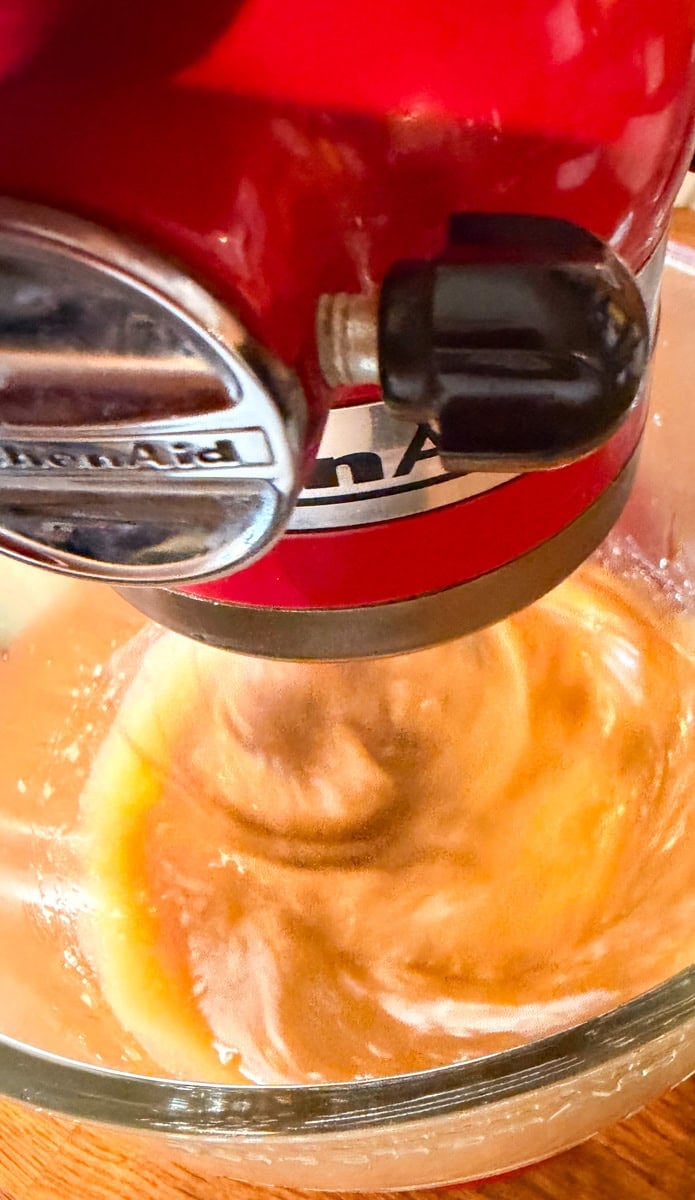
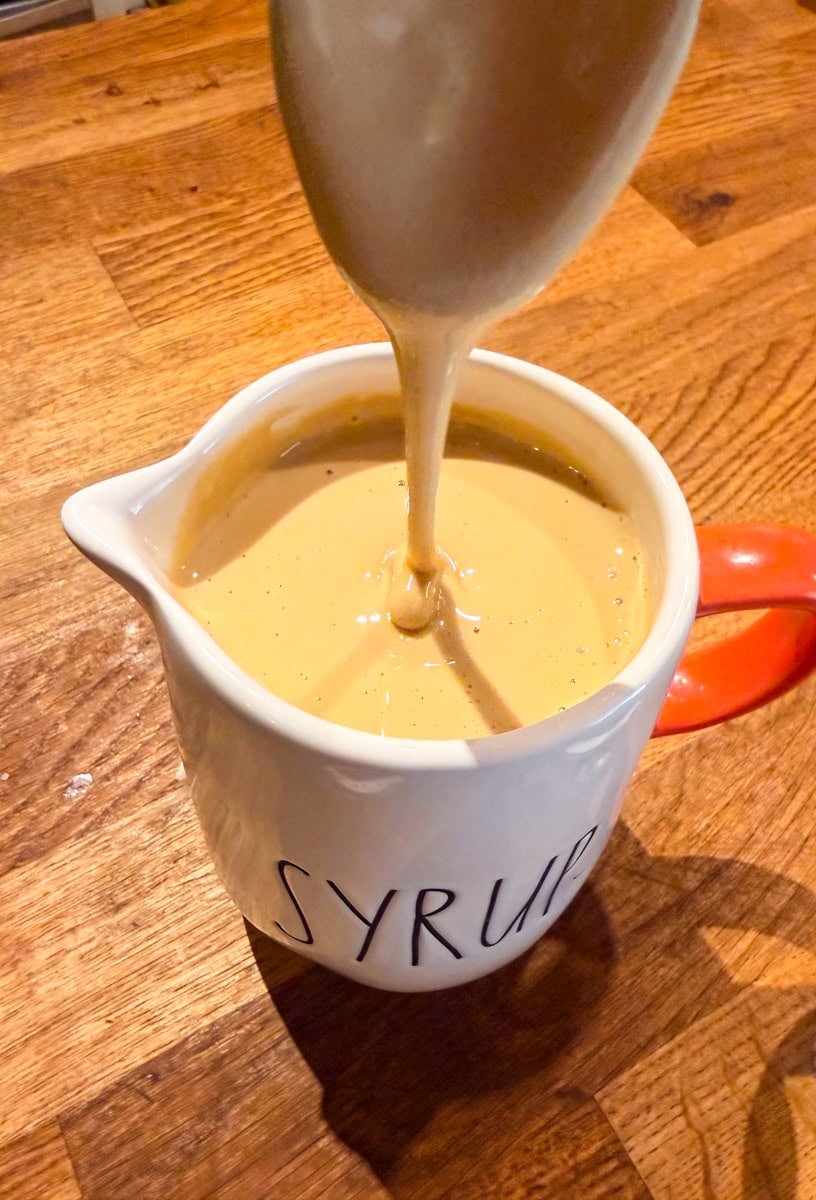
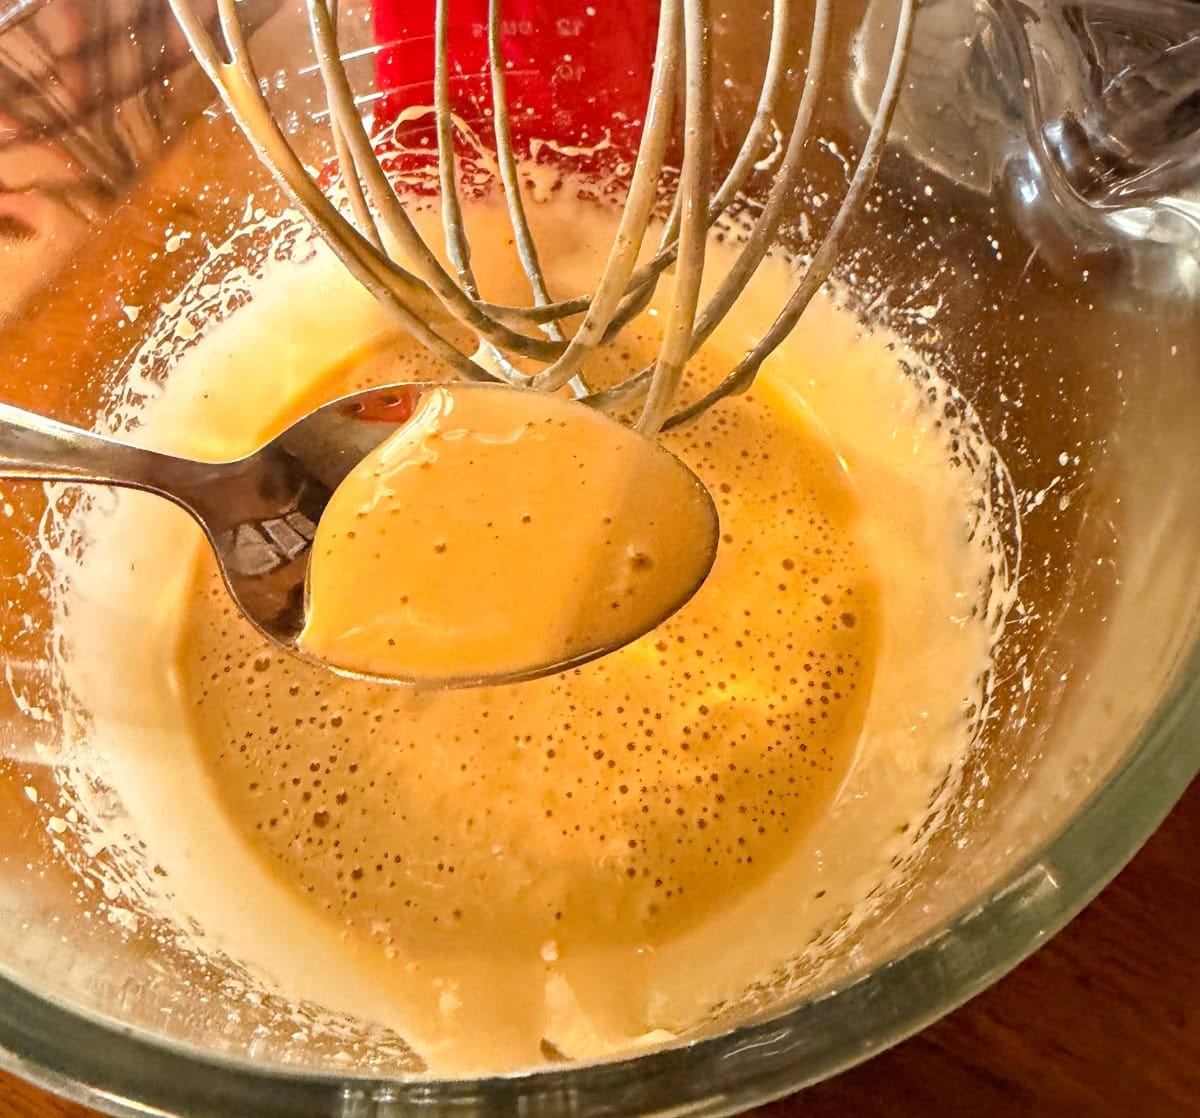
- Step 5: Mix Until Thick and Creamy Beat the cooked maple syrup in the stand mixer until it lightens in color and transforms into a thick, creamy maple butter consistency.
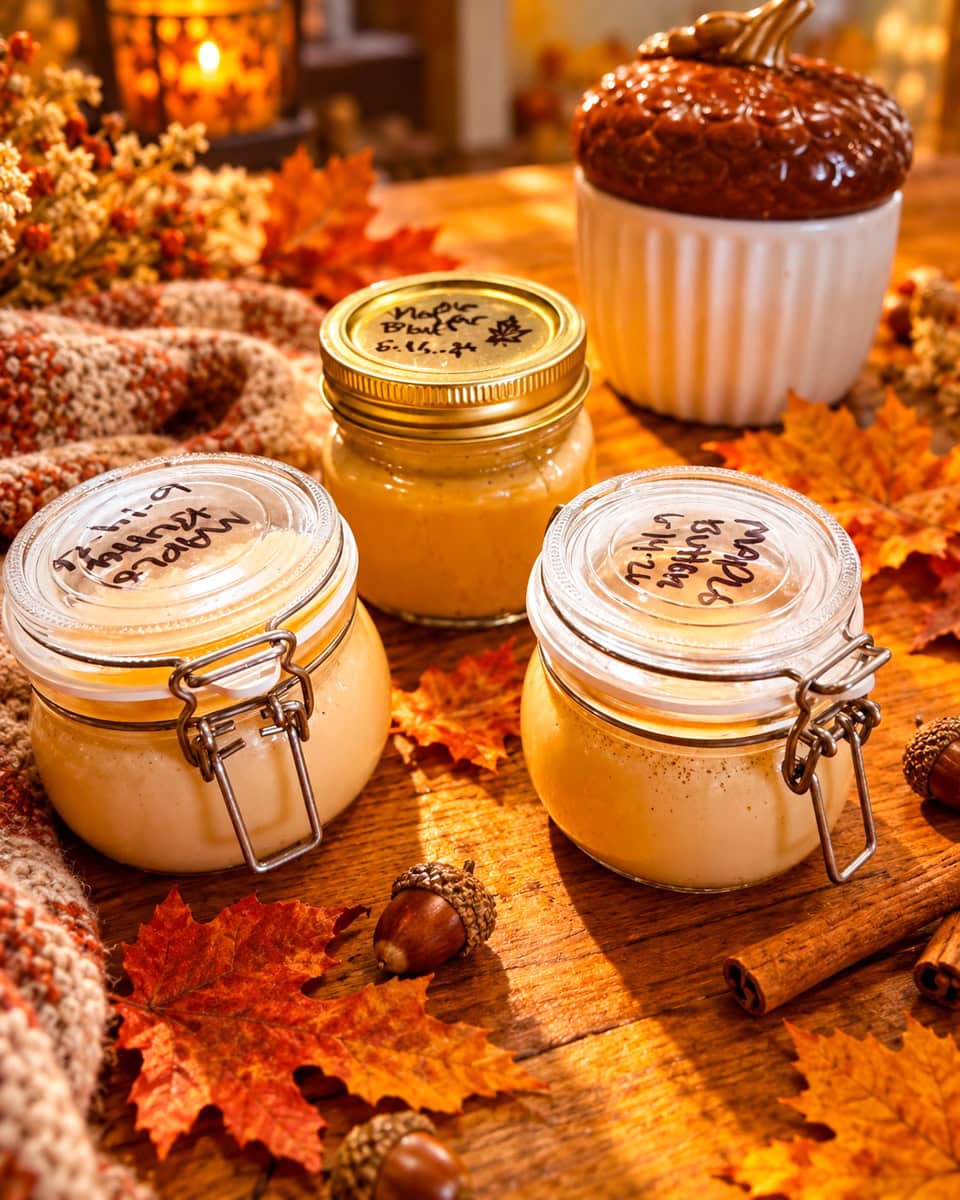
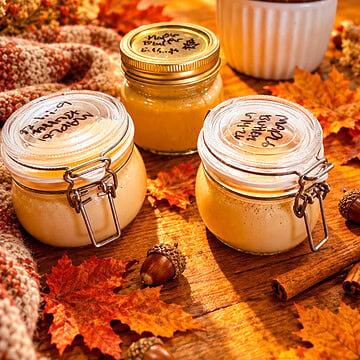
- Step 6: Transfer to Jars and Refrigerate Spoon the finished Homemade Maple Butter into clean, sealable Mason jars or glass latch jars. Seal the jars, label them with the date, and store the fresh maple butter in the refrigerator.
Pro Tip for Maple Cream Recipe
- Tip: Watch the temperature: Use a candy thermometer and cook the maple syrup until it reaches 235°F for the proper consistency.
- Tip: Check the texture: Stop the stand mixer periodically to check the maple butter as it thickens and lightens in color.
- Storage: Transfer the finished maple butter to a clean, airtight glass jar, label it with the date, and keep it refrigerated.
- Ready: Know when it’s ready: Stop mixing once the maple butter is smooth, thick, creamy, and easily spreadable.
Absolutely! Homemade Maple Butter is easy to make at home using pure maple syrup, a candy thermometer, and a stand mixer. The key is cooking the maple syrup to the correct temperature and then mixing it until it becomes thick, creamy, and spreadable.
For this recipe, cook the maple syrup until it reaches 235°F on a candy thermometer. Once it reaches 235°F, remove it from the heat and transfer it to the stand mixer.
Maple butter takes time to thicken in the stand mixer. Keep mixing and check the consistency periodically. As it thickens, you’ll notice the color becoming lighter and the texture changing from glossy maple syrup into a creamy, spreadable maple butter.
Transfer your Homemade Maple Butter to a clean, airtight Mason jar or glass container and store it in the refrigerator. Label the container with the date so you know when it was made.
More Fall Recipes

About Genevieve
Thank you for stopping by Fitty Foodlicious, a website dedicated to sharing lasting, family recipes, anxiety tips and tricks, and healthy spirited mental wellness. Genevieve's recipes have been featured on MSN.com, NewsBreak, Food Talk Daily, Food Gawker, Trivet Recipes, Bartender.com, Health Magazine, Kitchen Aid AU NZ, and has a published Cookbook titled The 5-Ingredient Paleo Cookbook which can be purchased at all major bookstores and on Amazon.
Follow Us
If you make this recipe, please leave a star ⭐ recipe rating at the bottom of the page on the recipe card. This provides helpful feedback to both me and other readers and cooks! If you want more delicious, made-from-scratch, wholesome, and healthy recipes, you can subscribe to my newsletter and follow along on my adventures on Instagram where I'm convinced I'm a comedian 😂 Check out our Pinterest for even more recipe inspiration and Facebook for the recipe of the day!
Be sure and follow, like, and share Fitty Foodlicious with your friends and family!
Pin or send this recipe to a friend!
Share Fitty Foodlicious recipes with your friends and family! We won't mind. 😉
📖 Recipe
How to Make Maple Butter (Easy Homemade Recipe)
Equipment
Ingredients
- 16 fluid ounces Pure Maple Syrup

Instructions
- Pour the maple syrup: Pour 16 fluid ounces (2 cups) of pure maple syrup into a medium saucepan and place it over medium heat.
- Bring to a boil: Add a candy thermometer and continue cooking the maple syrup. It will begin to bubble and simmer as the temperature rises. Continue heating until it reaches a full rolling boil.
- Continue cooking: Allow the maple syrup to cook at a rolling boil without stirring. Keep a close eye on the candy thermometer as the syrup continues to heat and thicken.
- Cook to 235°F: Continue boiling until the maple syrup reaches 235°F. Once it reaches temperature, immediately remove the saucepan from the heat.
- Transfer to the stand mixer: Carefully pour the hot maple syrup into the bowl of a stand mixer fitted with the paddle attachment.
- Mix until creamy: Beat the maple syrup until it lightens in color and transforms into a thick, smooth, creamy, spreadable consistency. Stop the mixer periodically and check the texture. This process can take up to an hour.
- Transfer and store: Spoon the finished Homemade Maple Butter into clean, airtight Mason jars or glass jars. Seal, label with the date, and store in the refrigerator.
Comments
No Comments