

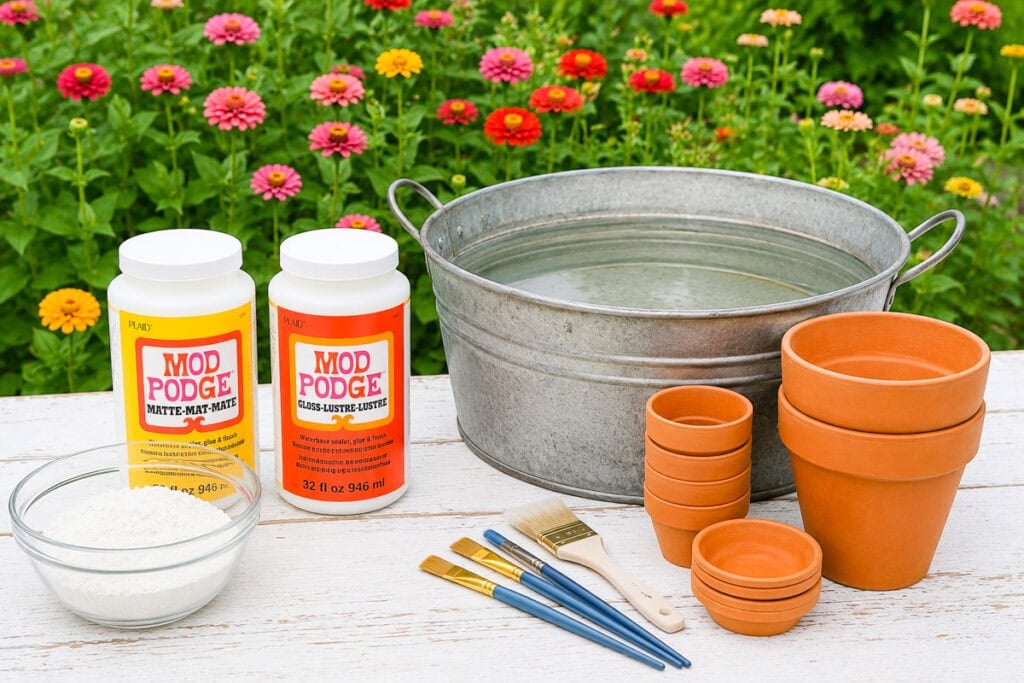
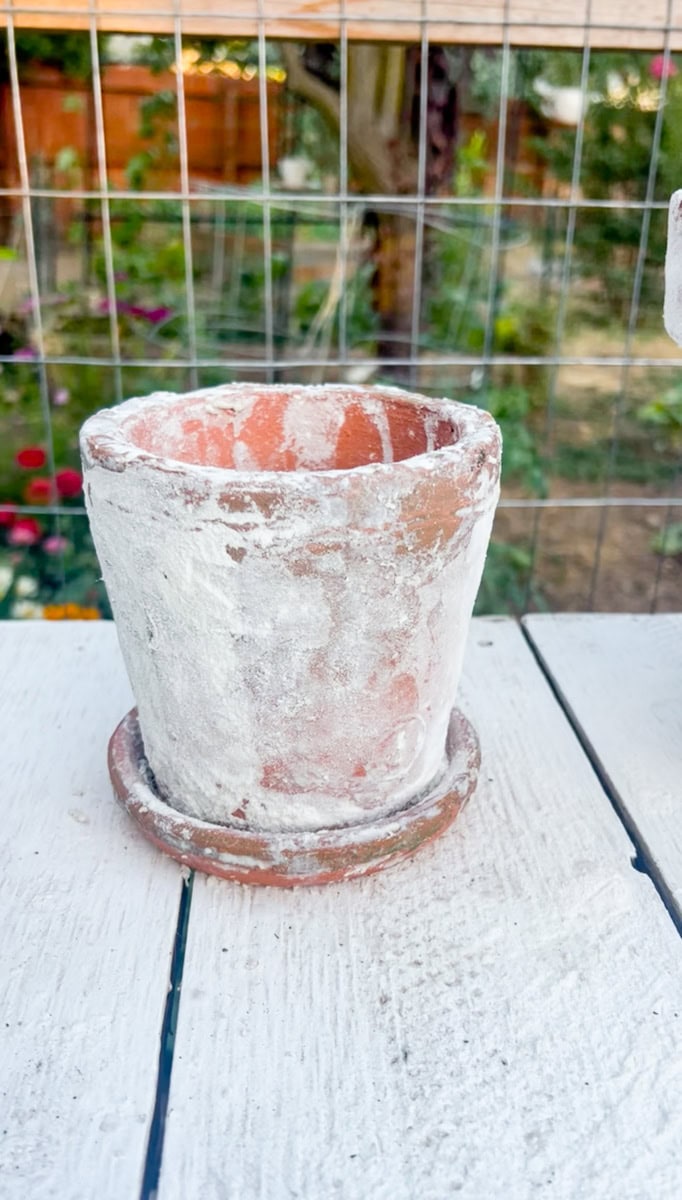
Learn how to age terracotta pots with this easy DIY tutorial that creates a beautiful vintage finish using just a few inexpensive supplies. This simple technique gives brand-new clay pots the look of naturally weathered terracotta without waiting years for them to age outdoors. The aged finish adds timeless charm to cottage gardens, patios, porches, and greenhouse displays. Best of all, the project is quick, beginner-friendly, and easy to customize with terracotta pots of any size.

I love finding simple ways to give my garden a high-end look without the high-end price tag. If I can upcycle, repurpose, or recreate something myself, I’m all in. Instead of spending hundreds of dollars on pre-aged terracotta planters, I would much rather grab a few inexpensive clay pots and transform them into something that looks like it’s been sitting in a charming cottage garden for decades. It’s budget-friendly, satisfying, and one of my favorite DIY projects because the results look so realistic.
If you enjoyed this DIY garden path tutorial, be sure to check out my How to Build a Wooden Garden Trellis tutorial or my Easy DIY Outdoor Hose and Extension Cord Storage Hack. I update my site weekly with affordable gardening tutorials.
Jump to:
Why You'll Love Learing How to Age Terracotta Pots
- 🪴 Budget-friendly – Create the look of expensive vintage terracotta planters for a fraction of the cost using a few inexpensive supplies.
- ✨ Realistic aged finish – This simple DIY creates a naturally weathered patina that looks like the pots have spent years in a charming cottage garden.
- 🎨 Completely customizable – Apply more or less of the mixture to create anything from a lightly aged look to a heavily distressed finish.
- 🌿 Perfect for any garden style – These aged terracotta pots complement cottage gardens, English gardens, Mediterranean landscapes, farmhouse décor, and greenhouse displays.
- ⏱️ Easy weekend DIY – With just a few simple steps and an overnight drying time, you can transform ordinary clay pots into beautiful statement pieces.
Materials Needed to Age Terracotta Pots
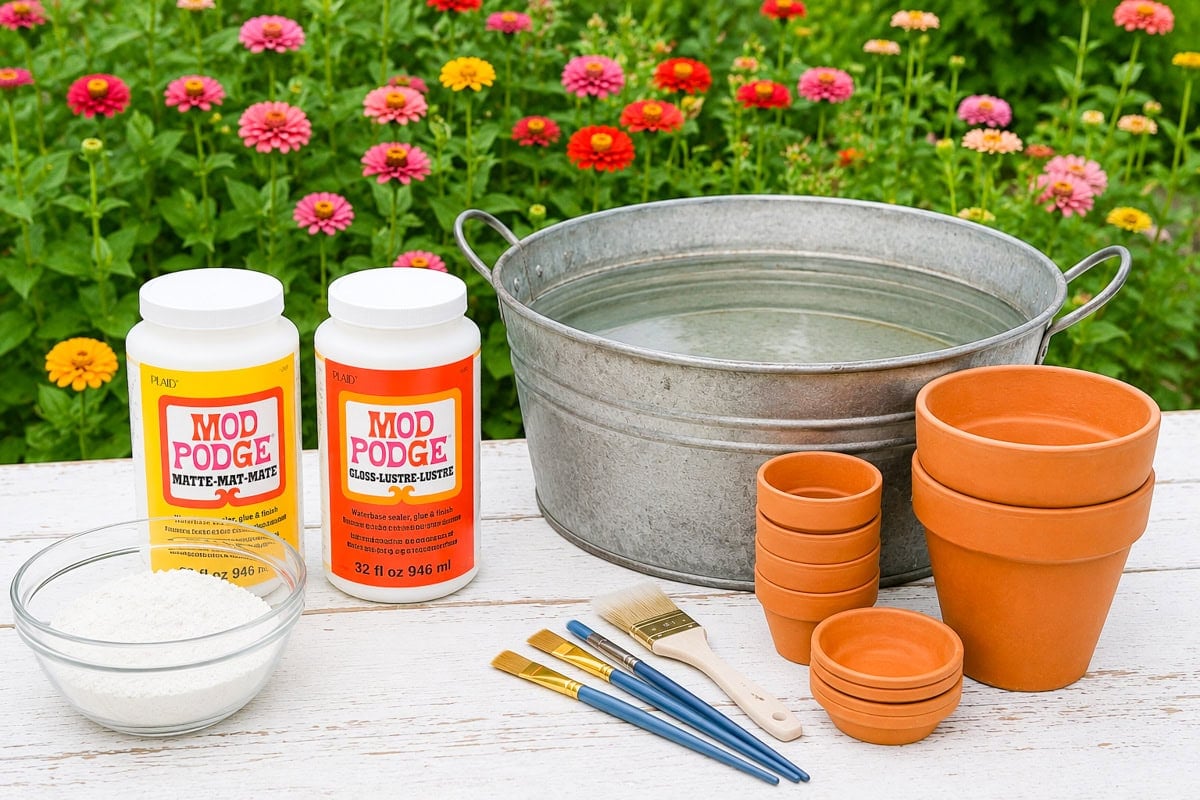
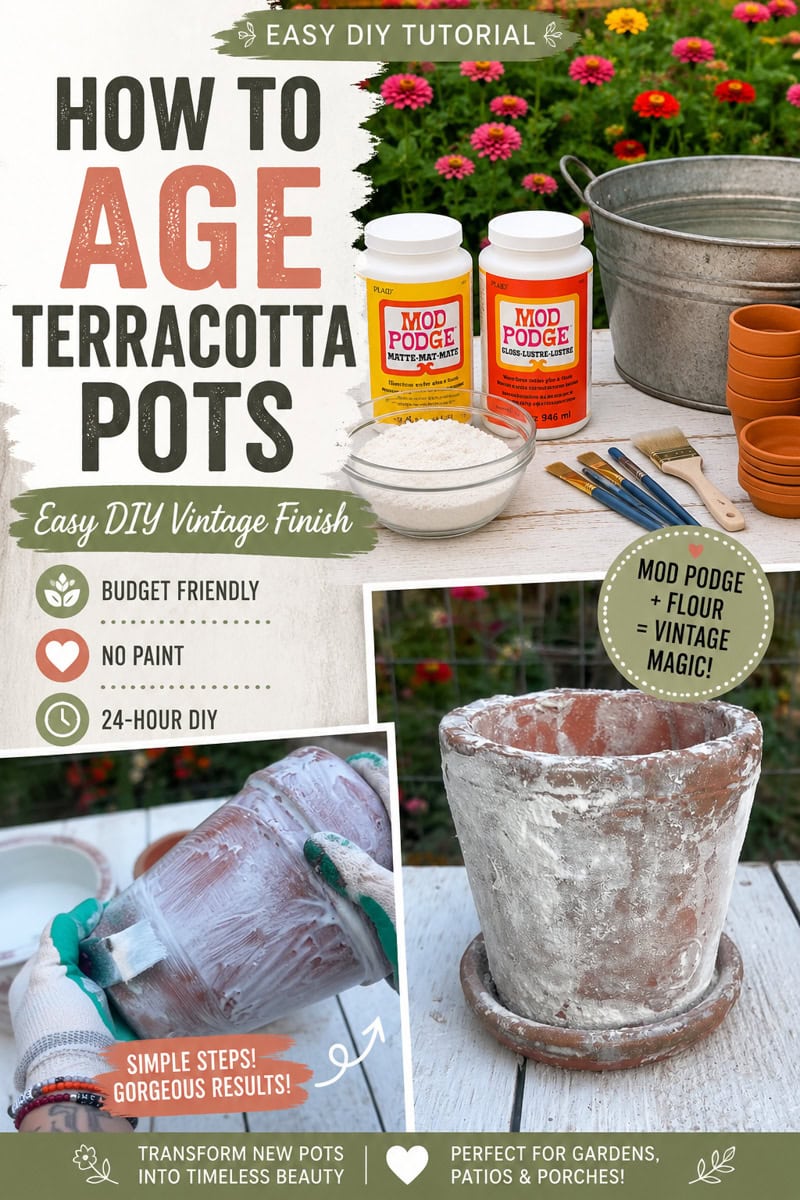
To create this easy DIY, you’ll only need a handful of inexpensive supplies. I use both Gloss Mod Podge and Matte Mod Podge to demonstrate the technique, but either one works beautifully depending on the finish you prefer. Most of these materials can be found at your local craft store or online, making this a simple and budget-friendly garden project.
- 🪴 Terracotta Pots – New or previously used terracotta pots in any size. If you’re reusing old pots, scrub away any dirt and debris before beginning.
- 🖌️ Mod Podge Kit – Grab a kit that includes gloss and matte. Either formula works well for creating a realistic aged finish. Gloss dries with a slight sheen, while Matte creates a softer, more weathered appearance.
- 🥣 All-Purpose Flour – Gives the pots their textured, timeworn patina and helps create the aged look.
- 💧 Water – Used to dilute the Mod Podge so it applies smoothly and evenly.
- 🖌️ Paintbrush – A small to medium paintbrush makes it easy to apply the mixture over the entire surface of the pot.
- 🧤 Disposable or Reusable Gloves – Helps keep sticky Mod Podge off your hands while applying the mixture.
- 🥣 Mixing Bowl or Container – For combining the Mod Podge and water before application.
How to Create a Vintage Terracotta Finish
Step 1: Clean the Terracotta Pots
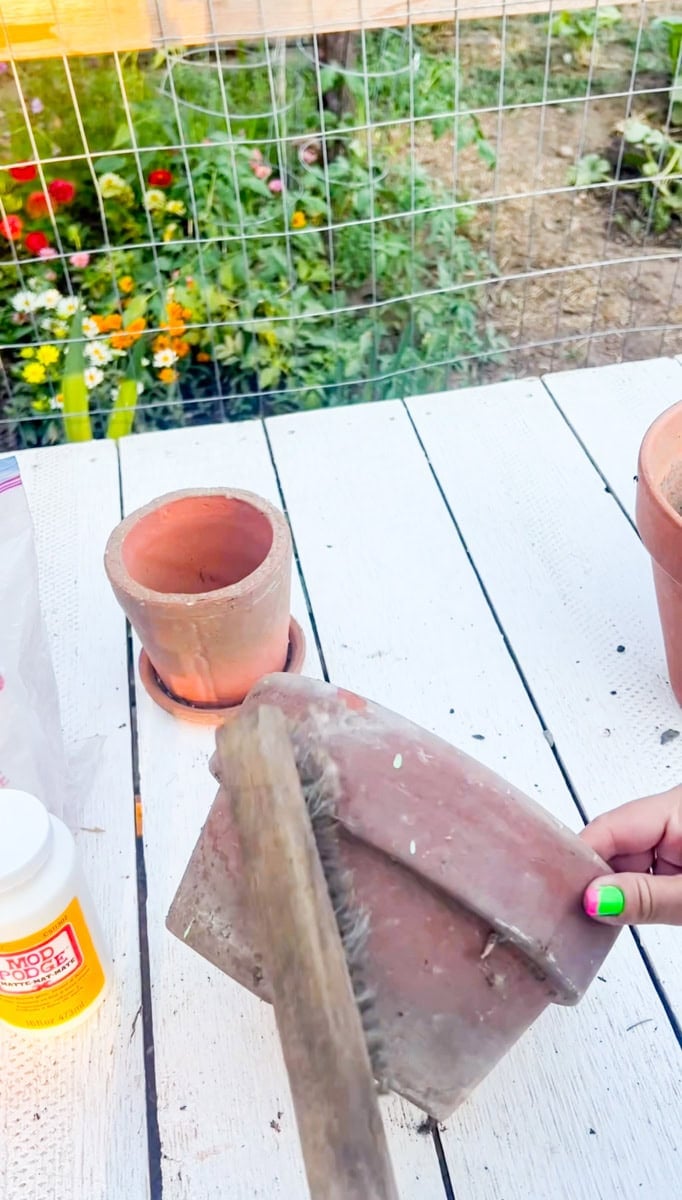
If you’re using brand-new terracotta pots, give them a quick once-over to remove any dust from shipping. For previously used pots, scrub away dirt, cobwebs, old soil, and any loose debris using a stiff scrub brush. Starting with a clean surface helps the Mod Podge mixture adhere evenly and creates a more realistic vintage finish.
Step 2: Mix the Mod Podge Solution
In a large bowl or container, combine the Mod Podge with water until the mixture is smooth and easy to brush onto the pots. I used this mixture as the base coat to help the flour adhere to the surface and create a realistic weathered finish. Once everything is thoroughly mixed, you’re ready to start applying it to your terracotta pots.
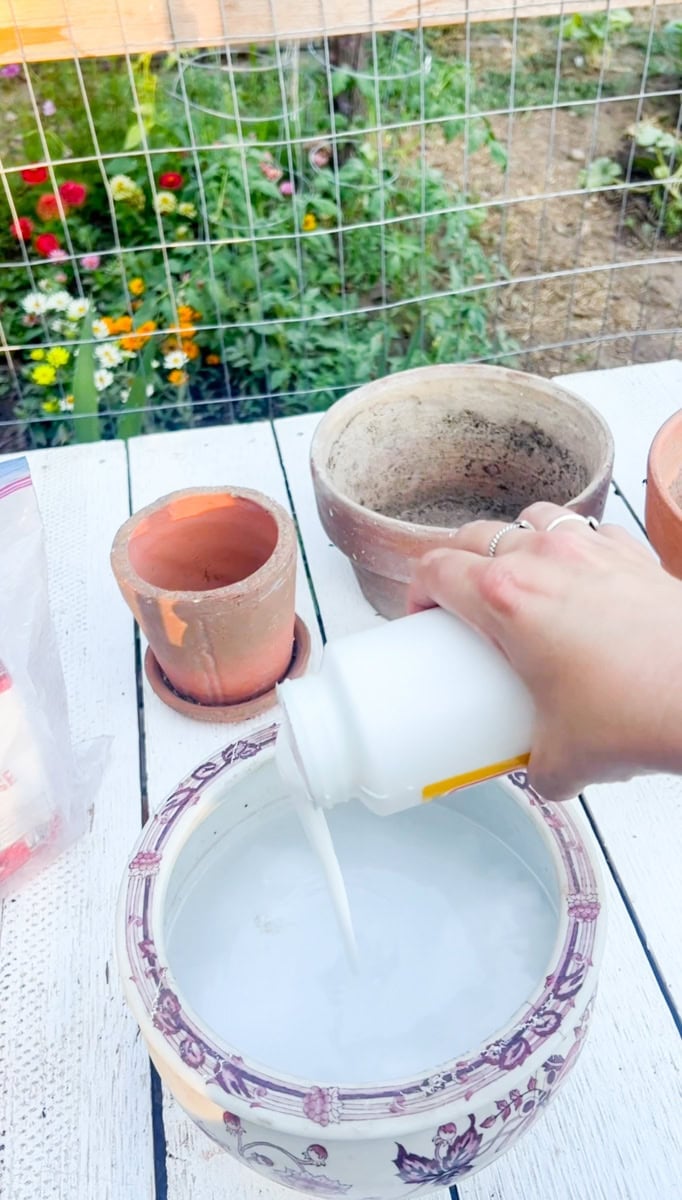
Step 3: Apply the Mod Podge Mixture
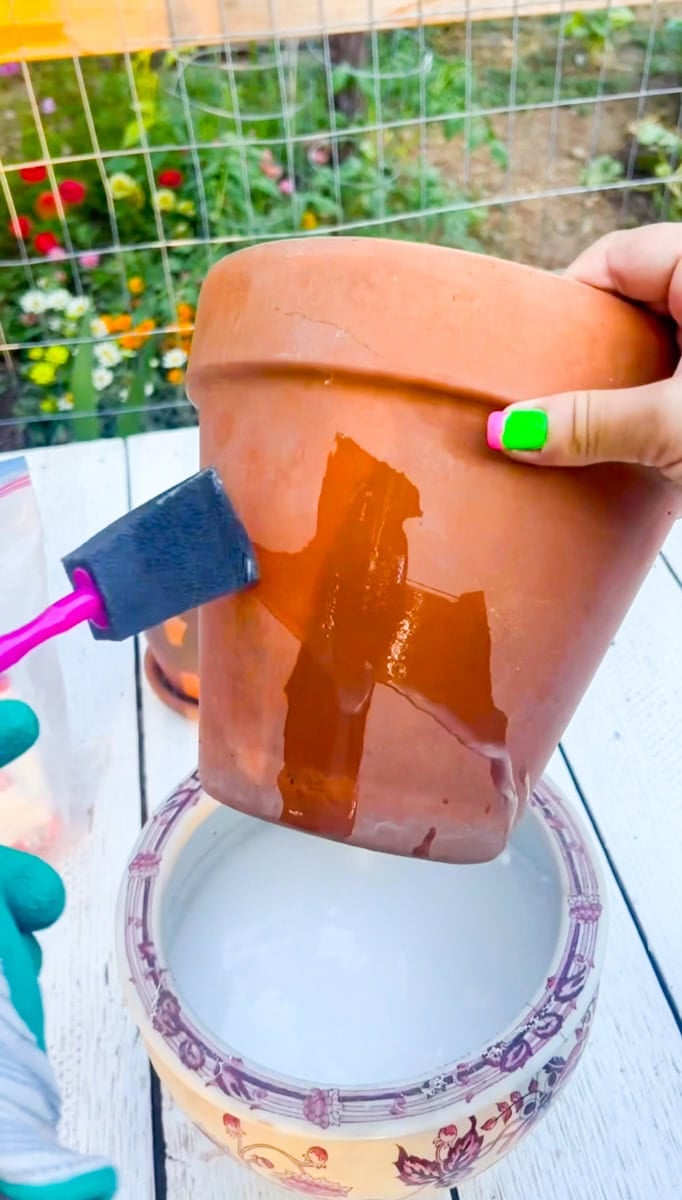
Using a paintbrush, apply an even coat of the Mod Podge mixture over the entire surface of the clean terracotta pot. Be sure to cover the pot evenly, including the rim, so the weathered finish looks natural once it’s complete.
Step 4: Repeat the Process
Continue applying the Mod Podge mixture to each terracotta pot until they’re all coated. For a little variety, you can alternate between matte and glossy Mod Podge to create slightly different finishes. Be sure to coat each pot evenly, including the rim, before moving on to the next step.
Step 5: Dust with Flour and Let Dry
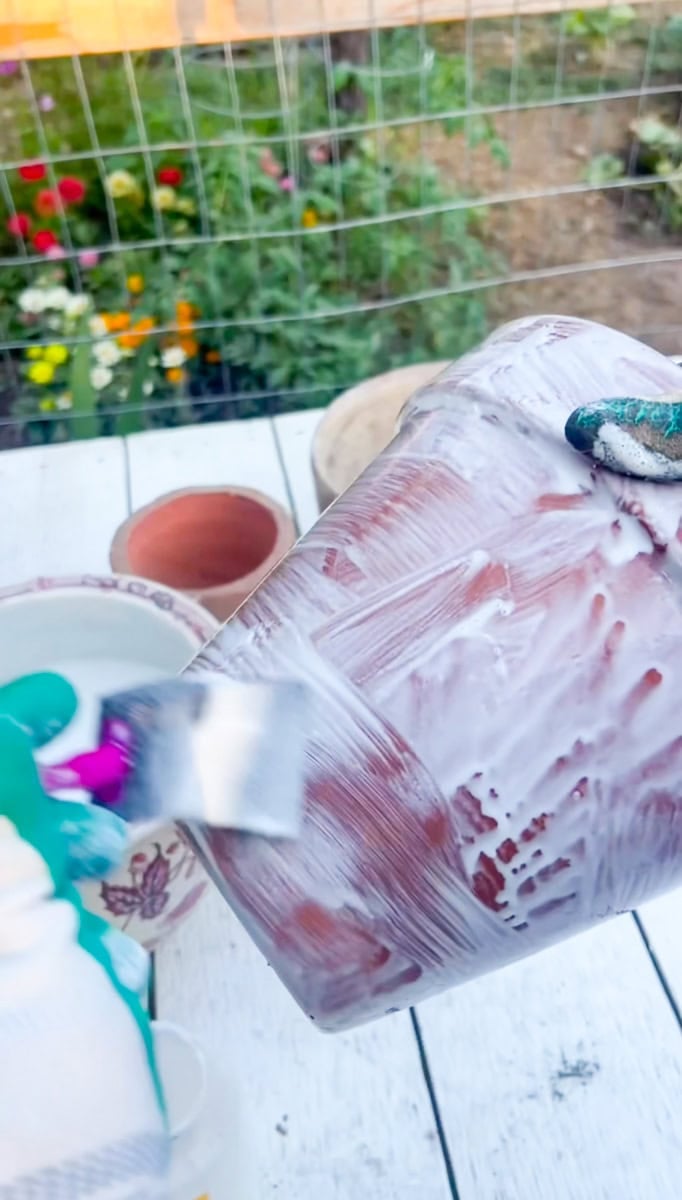
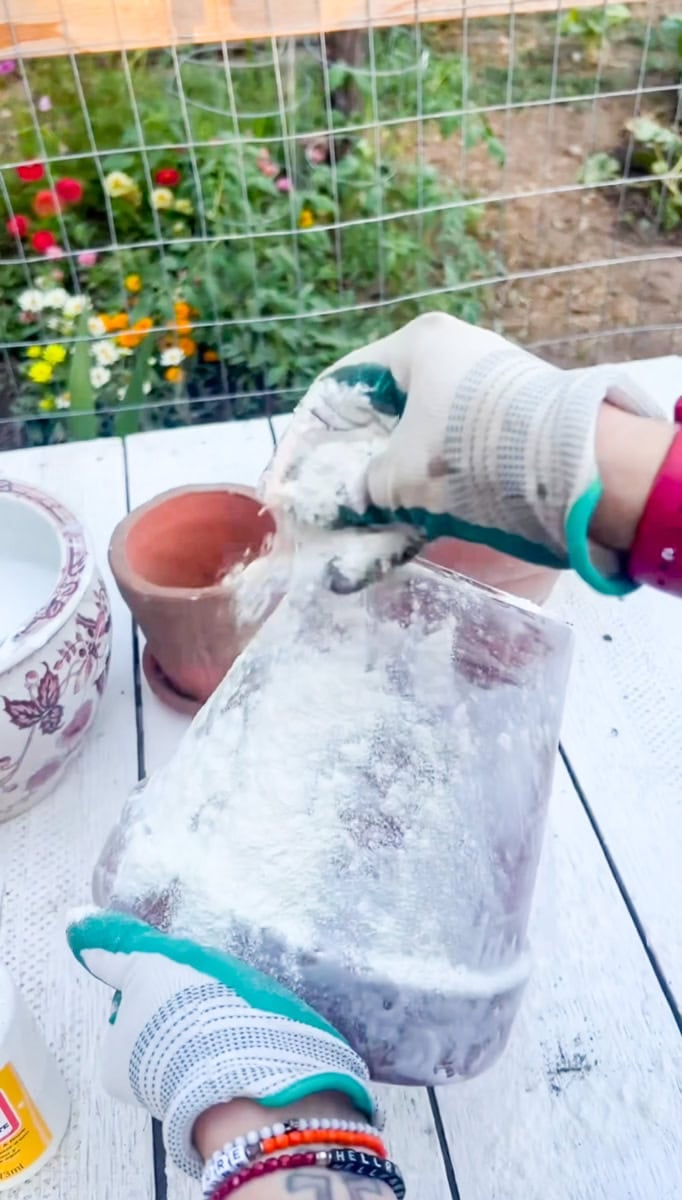
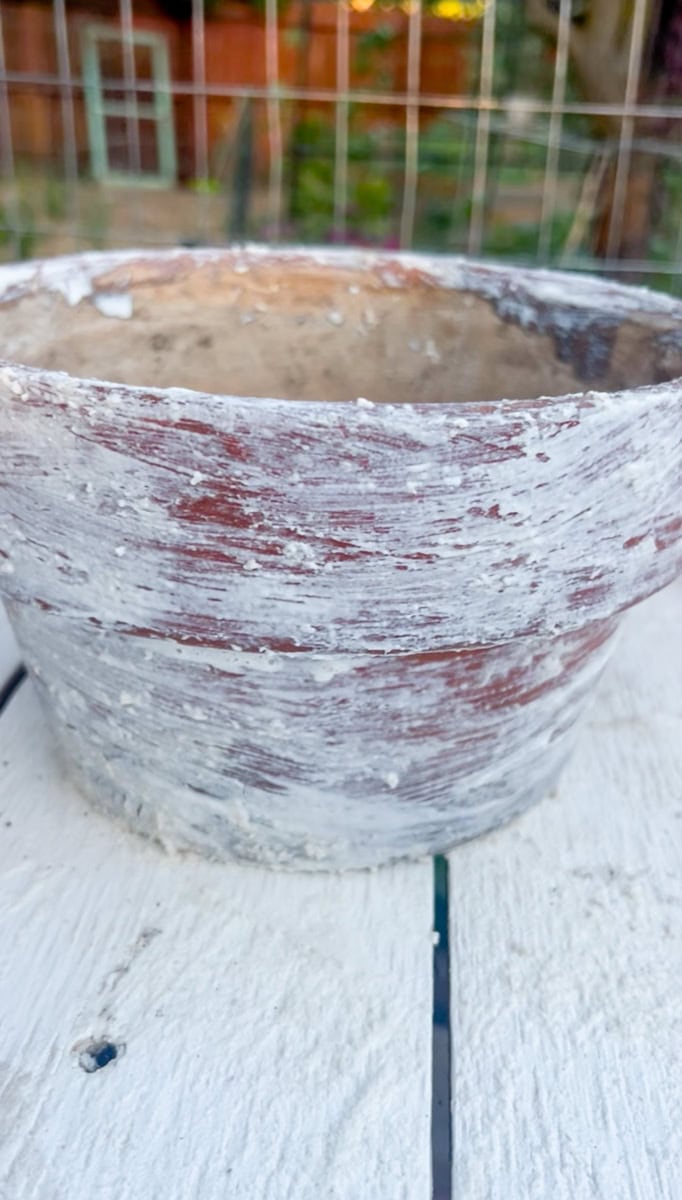
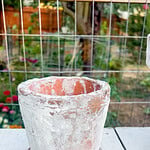
While the Mod Podge is still wet, generously brush flour over the entire surface of each terracotta pot until it’s completely coated. Set the pots aside and allow them to dry undisturbed for 24 hours. Once dry, the flour and Mod Podge will create a beautifully aged, weathered finish that’s ready to display in your garden or fill with your favorite plants.
Things You Need to Know Before Using Terracotta Pots
- Tip: Start with older terracotta pots if you can. While this technique works beautifully on brand-new pots, starting with vintage or naturally weathered terracotta pots can create an even more authentic aged look.
- Let the pots dry completely. Be patient and allow the pots to air dry for the full 24 hours before handling or planting. Rushing the drying process can affect the final finish.
- Seal the finish if you prefer. I never sealed my terracotta pots, and years later they still look just as they did when I finished them. If you’d like a little extra protection, you can apply a clear matte sealer after the pots have dried completely.
Yes, some DIY tutorials use paint to create a weathered or whitewashed look. I prefer using Mod Podge and flour because it creates a softer, more natural-looking finish while allowing the beauty of the terracotta to show through.
Yes. Baking soda and salt are both popular DIY methods for creating an aged appearance on terracotta pots. While they can produce interesting results, I find the Mod Podge and flour method gives a more consistent vintage finish that’s easy to recreate.
Garden lime is another popular way to create a chalky, weathered patina on terracotta pots. If you’re looking for a simple DIY using inexpensive supplies, the Mod Podge and flour method is an easy alternative that delivers beautiful results.
More Garden Grow Guides Here

Follow Us
If you make this recipe, please leave a star ⭐ recipe rating at the bottom of the page on the recipe card. This provides helpful feedback to both me and other readers and cooks! If you want more delicious, made-from-scratch, wholesome, and healthy recipes, you can subscribe to my newsletter and follow along on my adventures on Instagram where I'm convinced I'm a comedian 😂 Check out our Pinterest for even more recipe inspiration and Facebook for the recipe of the day!
Be sure and follow, like, and share Fitty Foodlicious with your friends and family!

About Genevieve
Thank you for stopping by Fitty Foodlicious, a website dedicated to sharing lasting, family recipes, anxiety tips and tricks, and healthy spirited mental wellness. Genevieve's recipes have been featured on MSN.com, NewsBreak, Food Talk Daily, Food Gawker, Trivet Recipes, Bartender.com, Health Magazine, Kitchen Aid AU NZ, and has a published Cookbook titled The 5-Ingredient Paleo Cookbook which can be purchased at all major bookstores and on Amazon.
Pin or send this recipe to a friend!
Share Fitty Foodlicious recipes with your friends and family! We won't mind. 😉
How to Age Terracotta Pots (Easy DIY for a Vintage Garden Look)
Materials
- Bristle Brush
- 1 Bucket Water
- 1 Mod Podge Kit
- All Purpose Flour Use as much or as little as you need, depending on amounts and size of pots you are aging.

Instructions
Clean the Terracotta Pots
If you’re using brand-new terracotta pots, give them a quick once-over to remove any dust from shipping. For previously used pots, scrub away dirt, cobwebs, old soil, and any loose debris using a stiff scrub brush. Starting with a clean surface helps the Mod Podge mixture adhere evenly and creates a more realistic vintage finish.Mix the Mod Podge Solution
In a large bowl or container, combine the Mod Podge with water until the mixture is smooth and easy to brush onto the pots. I used this mixture as the base coat to help the flour adhere to the surface and create a realistic weathered finish. Once everything is thoroughly mixed, you’re ready to start applying it to your terracotta pots.Apply the Mod Podge Mixture
Using a paintbrush, apply an even coat of the Mod Podge mixture over the entire surface of the clean terracotta pot. Be sure to cover the pot evenly, including the rim, so the weathered finish looks natural once it’s complete.Repeat the Process
Continue applying the Mod Podge mixture to each terracotta pot until they’re all coated. For a little variety, you can alternate between matte and glossy Mod Podge to create slightly different finishes. Be sure to coat each pot evenly, including the rim, before moving on to the next step.Dust with Flour and Let Dry
While the Mod Podge is still wet, generously brush flour over the entire surface of each terracotta pot until it’s completely coated. Set the pots aside and allow them to dry undisturbed for 24 hours. Once dry, the flour and Mod Podge will create a beautifully aged, weathered finish that’s ready to display in your garden or fill with your favorite plants.

Comments
No Comments